
If you’re looking for the ultimate backpacking adventures in U.S. national parks, this guide covers 15 of the best trails. From short day hikes to multi-week treks, these routes showcase diverse landscapes, including alpine peaks, desert canyons, and coastal wilderness. Here’s a quick summary:
- Yellowstone’s Bechler River Traverse: 35 miles, 4–6 days, moderate-challenging with river crossings and waterfalls.
- Grand Canyon Rim-to-Rim: 24 miles, 2–3 days, strenuous with 6,000 feet elevation change.
- Yosemite’s Half Dome & Cloud’s Rest Loop: 37.2 miles, 5 days, steep climbs and iconic views.
- John Muir Trail: 211 miles, 2–3 weeks, high-altitude Sierra Nevada trek.
- Teton Crest Trail: 33–40 miles, 3–5 days, stunning alpine scenery.
- Bryce Canyon’s Under the Rim Trail: 23 miles, 2–3 days, hoodoos and desert landscapes.
- Smoky Mountains Appalachian Trail Section: 72 miles, 5–7 days, biodiverse forests and high peaks.
- Pictured Rocks North Country Trail: 42 miles, 3–5 days, scenic Lake Superior shoreline.
- California’s Lost Coast Trail: 25 miles, 2–4 days, remote coastal wilderness.
- North Cascades’ Cascade Pass to Sahale Glacier: 12 miles, 2 days, alpine terrain and glaciers.
- Canyonlands’ Chesler Park Loop: 11 miles, 2 days, slot canyons and sandstone formations.
- Rocky Mountain’s Emerald Lake Trail: 3.6 miles, 1 day, alpine lakes and wildlife.
- Maple Pass Loop: 7.2 miles, 1 day, dramatic mountain views.
- Big Bend’s Lost Mine Trail: 4.8 miles, 1 day, desert and mountain vistas.
- Petrified Forest’s Blue Mesa Trail: 3 miles, 1 day, colorful badlands.
Quick Comparison Table
| Trail Name | Location | Distance | Duration | Difficulty | Elevation Gain | Best Season | Permit Required |
|---|---|---|---|---|---|---|---|
| Bechler River Traverse | Yellowstone NP, WY | 35 miles | 4–6 days | Moderate-Challenging | Varies | July–Sept | Yes |
| Grand Canyon Rim-to-Rim | Grand Canyon NP, AZ | 24 miles | 2–3 days | Strenuous | 6,000 ft | May–June, Sept–Oct | Yes |
| Half Dome & Cloud’s Rest Loop | Yosemite NP, CA | 37.2 miles | 5 days | Strenuous | 4,800 ft | July–Sept | Yes |
| John Muir Trail | Yosemite to Mt. Whitney, CA | 211 miles | 2–3 weeks | Strenuous | 47,000 ft | July–Sept | Yes |
| Teton Crest Trail | Grand Teton NP, WY | 33–40 miles | 3–5 days | Strenuous | 6,500 ft | July–Sept | Yes |
| Under the Rim Trail | Bryce Canyon NP, UT | 23 miles | 2–3 days | Moderate | 1,500 ft | May–June, Sept–Oct | Yes |
| Appalachian Trail Section | Great Smoky Mountains NP, TN/NC | 72 miles | 5–7 days | Moderate-Strenuous | 16,000 ft | April–May, Sept–Oct | Yes |
| North Country Trail Section | Pictured Rocks NL, MI | 42 miles | 3–5 days | Moderate | 2,000 ft | June–Sept | No |
| Lost Coast Trail | Sinkyone Wilderness, CA | 25 miles | 2–4 days | Moderate | 3,000 ft | April–June, Sept–Oct | No |
| Cascade Pass to Sahale Glacier | North Cascades NP, WA | 12 miles | 2 days | Strenuous | 4,400 ft | July–Sept | Yes |
| Chesler Park Loop | Canyonlands NP, UT | 11 miles | 2 days | Moderate | 900 ft | March–May, Sept–Nov | Yes |
| Emerald Lake Trail | Rocky Mountain NP, CO | 3.6 miles | 1 day | Moderate | 650 ft | June–Sept | No |
| Maple Pass Loop | North Cascades NP, WA | 7.2 miles | 1 day | Moderate | 2,000 ft | July–Sept | No |
| Lost Mine Trail | Big Bend NP, TX | 4.8 miles | 1 day | Moderate | 1,100 ft | Oct–April | No |
| Blue Mesa Trail | Petrified Forest NP, AZ | 3 miles | 1 day | Easy | 200 ft | March–May, Sept–Nov | No |
Each trail offers unique challenges and scenery. Always plan ahead, secure permits when needed, and pack appropriately for weather and terrain. Stay safe and enjoy the adventure!
1. Bechler River Traverse, Yellowstone National Park, Wyoming
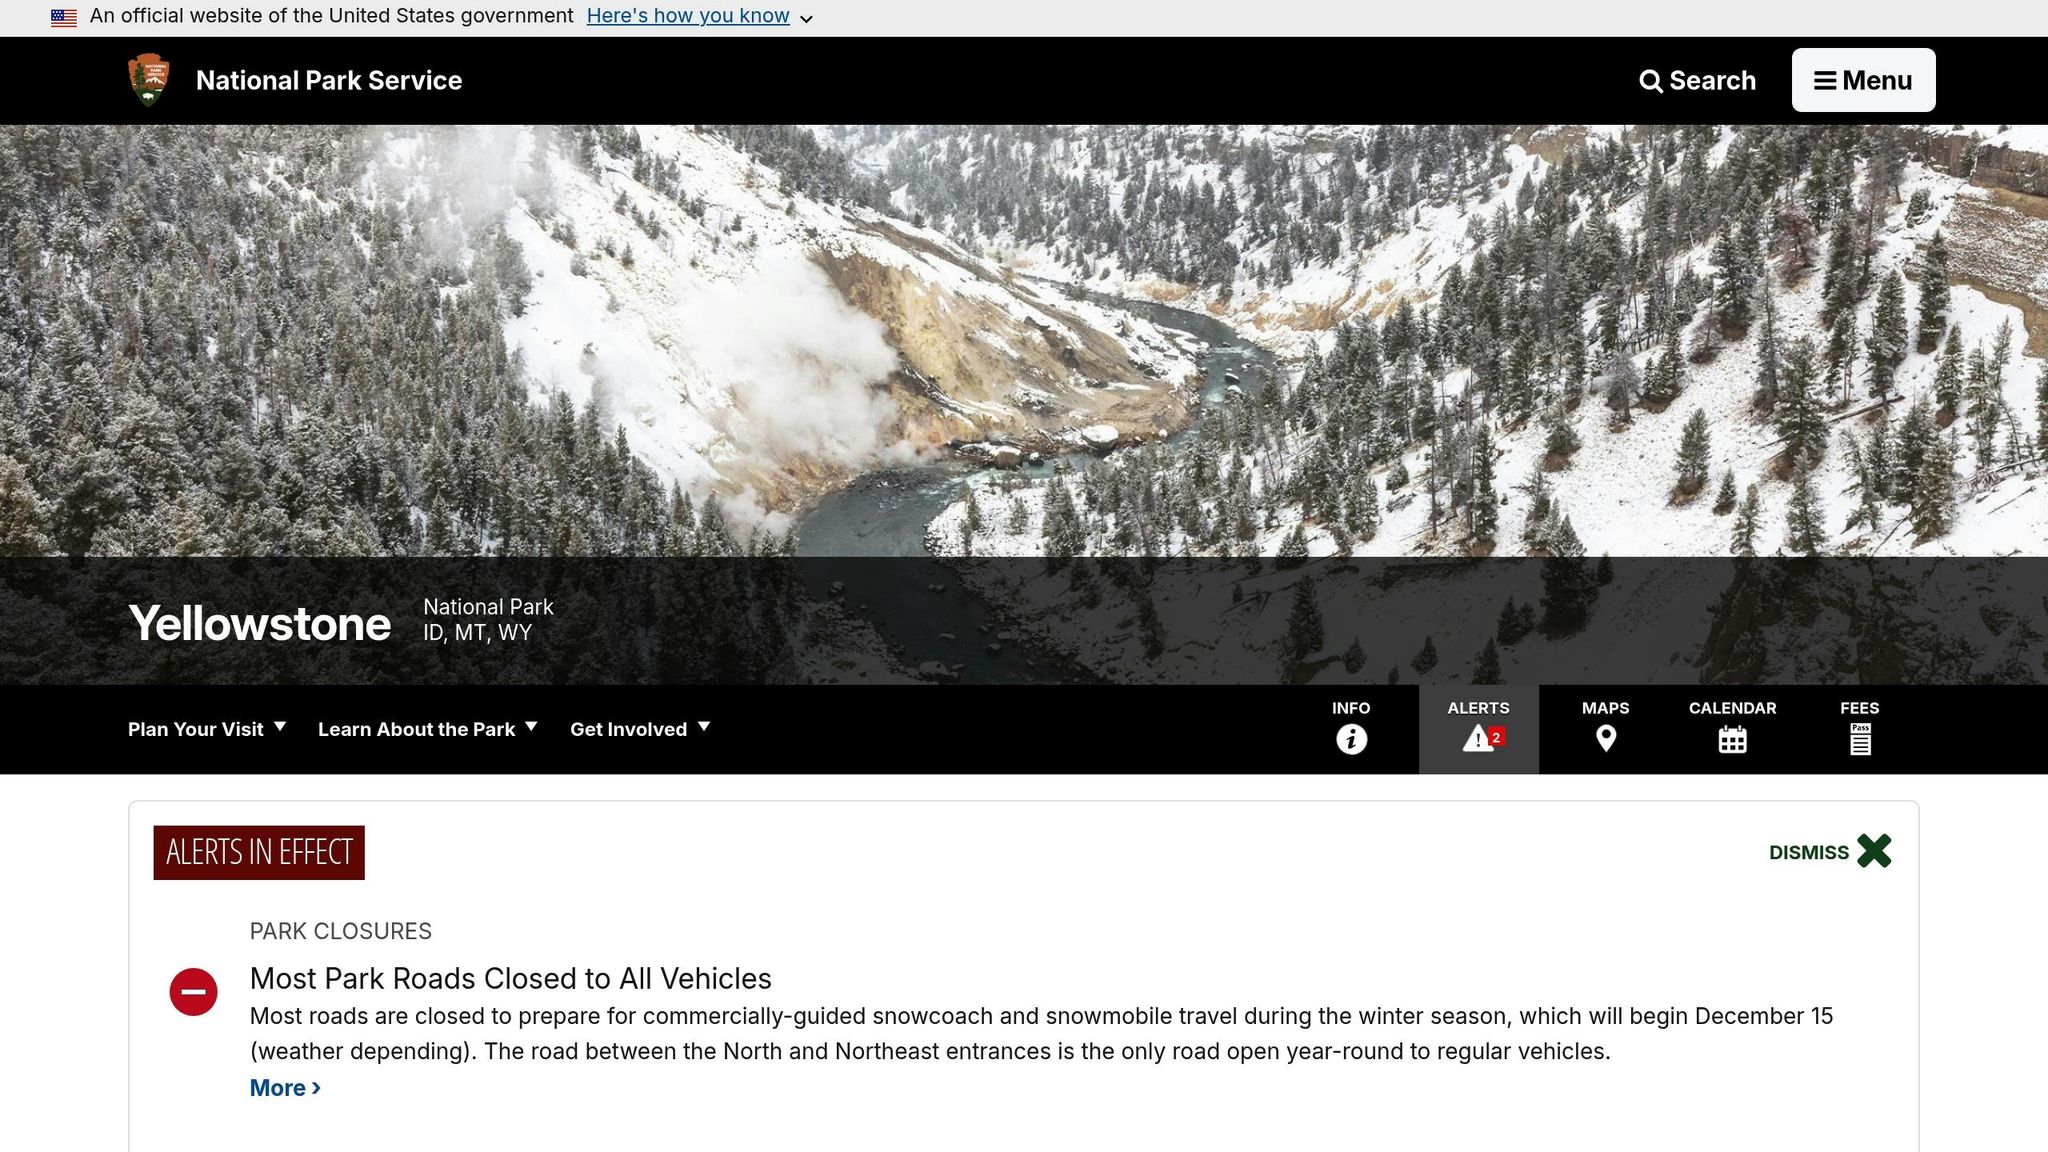
Tucked away in the southwest corner of Yellowstone, the Bechler River Traverse offers a quieter escape compared to the bustling areas like Old Faithful. This backcountry trail is a hidden gem for those seeking solitude and natural beauty.
Trail Distance
Stretching 35 miles through Yellowstone’s backcountry, the Bechler River Traverse typically takes 4 to 6 days to complete. Seasoned hikers often finish in 4 to 5 days, depending on pace and conditions.
Difficulty Level
This trail falls into the moderate-to-challenging category, primarily due to its numerous river crossings. These crossings can be particularly tricky in late summer when snowfall melts, leaving hikers to wade through icy waters.
Key Features
The trail offers a stunning variety of landscapes, from dense forests and open meadows to lush river valleys teeming with vegetation. If you’re hiking between late July and early September, you might even stumble upon wild berries like huckleberries, wild raspberries, thimble berries, and grouse berries in Bechler Canyon. Wildlife sightings are also a frequent treat along this route.
One of the highlights of the traverse is Dunanda Falls, a breathtaking 100-foot waterfall. At its base, hot spring pools mix with the chilly waterfall water, creating the perfect place for a safe and relaxing soak. As Wildland Trekking describes it:
Close your eyes and imagine a 100-foot waterfall. Near the base of this waterfall are multiple hot spring pools mixing with the cold water from the waterfall so that you can safely soak in them. The mist from the falling water and sunlight streaming in through the lush forest around you creates huge rainbows to complement the already-insane backdrop. Pretty dreamy, right? I dare you to feel like anything other than the luckiest person on Earth when you’re there.
But Dunanda Falls isn’t the only waterfall you’ll encounter. Short spur trails lead to several others, each offering its own charm. For another unique experience, check out Mr. Bubbles, a natural hot tub formed by a steam vent bubbling through a pool of water. Additionally, Lone Star Geyser provides a more peaceful geyser-viewing experience compared to Yellowstone’s busier attractions.
Permit Requirements
Before setting out, make sure to secure your backcountry permits, as they’re required for all overnight trips in Yellowstone. For example, one backpacker documented obtaining a 5-day, 4-night permit for the Bechler River Traverse in late August and early September. Planning ahead is key to enjoying this unforgettable adventure.
2. Grand Canyon Rim-to-Rim, Grand Canyon National Park, Arizona

The Grand Canyon Rim-to-Rim hike offers a rare and demanding journey through one of the world’s most iconic landscapes. While the majority of visitors never venture below the rim, those who take on this challenge are rewarded with an entirely fresh perspective of the canyon’s immense beauty and geological history.
Here’s what you need to know about this unforgettable trek.
Trail Distance
The classic Rim-to-Rim route stretches about 24 miles. Most hikers descend via the North Kaibab Trail and ascend the Bright Angel Trail, typically over the course of 3 days and 2 nights.
Difficulty Level
This hike is no walk in the park – it’s strenuous. The elevation change is dramatic, with a descent of nearly 6,000 feet to the river and a grueling climb back up to the opposite rim. As Zoe Gates, Senior Editor at Backpacker, puts it:
"Crossing from one rim of the canyon to the other allows you to walk through time and experience every rock layer and biome that the canyon has to offer."
Temperature swings of 20–25°F add to the challenge, making early starts or night hikes a smart strategy to avoid the midday heat. Proper preparation is key, including training, staying hydrated, and understanding desert safety. The effort pays off as you traverse stunning rock layers and take in breathtaking views.
Key Features
The Rim-to-Rim hike takes you through 5 of the Grand Canyon’s 7 Life Zones. Along the way, you’ll witness geological formations spanning 220 million to 1.8 billion years, with nearly 40 distinct layers on display. The changing plant and animal life as you descend and ascend highlights the canyon’s incredible ecological diversity.
Most hikers prefer the north-to-south route, often stopping overnight at Cottonwood and Bright Angel Campgrounds. Highlights include Phantom Ranch, where you can grab refreshments or even mail a mule-carried postcard, and Plateau Point, a perfect spot to catch a sunset.
For waterfall views, stick to marked spur trails. October brings a special treat, as cottonwood trees turn vibrant shades of yellow against the canyon’s red rock walls. Keep in mind that the North Kaibab Trail is usually closed due to snow until May.
When it’s time to climb out of the canyon, you have two main options. The Bright Angel Trail offers a more gradual ascent with shade and water stations, making it a popular choice in warmer weather. On the other hand, the South Kaibab Trail delivers jaw-dropping views but lacks shade and water.
Permit Requirements
Planning ahead is essential. Overnight trips require a permit, which you can apply for through a lottery on Recreation.gov. In 2024, applications opened as early as six months in advance for one of the limited 30 sites at Bright Angel Campground. The cost is $10 per permit plus $15 per person per night, with up to six people allowed per site. If securing a permit proves tricky, consider alternative routes or visiting during less crowded times.
3. Half Dome and Cloud’s Rest Loop, Yosemite National Park, California
Embark on an unforgettable journey through Yosemite’s high country with the Half Dome and Cloud’s Rest Loop. This trail combines granite peaks, alpine lakes, and cascading waterfalls, offering some of the most breathtaking views in the park. It’s a test of endurance that rewards hikers with unparalleled scenery.
Trail Distance
This loop spans 37.2 miles, beginning at the Happy Isles Trailhead in Yosemite Valley. Most hikers tackle it over 5 days and 4 nights. It’s one of Yosemite’s most sought-after multi-night backpacking trips, second only to the shorter trek to Little Yosemite Valley and Half Dome.
Difficulty Level
This is a strenuous hike, demanding excellent physical fitness, especially for the steep ascent up Half Dome’s cables. The trail climbs steeply into Yosemite’s high country, with exposed granite sections adding to the challenge.
Cloud’s Rest, standing 1,000 feet higher than Half Dome, presents its own set of obstacles. However, many hikers find the views here even more rewarding. From its summit, you’ll enjoy sweeping vistas of Half Dome, Tenaya Lake, and the eastern mountains. If you can time your climb for sunrise, you’ll witness the Yosemite Valley floor bathed in golden light – a truly magical experience.
Key Features
The adventure kicks off in Yosemite Valley, where you’ll ascend past Nevada Fall, a stunning 594-foot waterfall that sets the tone for the journey. The Mist Trail lives up to its name, with misty spray from waterfalls soaking hikers as they climb alongside the Merced River.
As you ascend, the landscape shifts to Yosemite’s high country, featuring granite canyons, serene meadows, and peaks towering over 12,000 feet. Along the way, you’ll cross mountain streams and enjoy moments of solitude before reaching the summits.
From the top of Half Dome, the 360-degree views are nothing short of spectacular. You’ll see iconic landmarks like Quarter Dome and Liberty Cap, as well as deep into Tenaya Canyon. Cloud’s Rest offers a different perspective, giving you a bird’s-eye view of Half Dome and the surrounding wilderness.
The loop also takes you over Red Peak Pass, the highest trail-accessible pass in Yosemite, located in the remote Clark Range. This stretch is a true backcountry experience, far removed from the bustling crowds of Yosemite Valley.
Permit Requirements
To complete this loop, you’ll need a backcountry permit for overnight stays. These permits are in high demand, so it’s wise to plan ahead and have alternative routes in mind.
Additionally, a separate permit is required for the Half Dome cable climb. Rangers stationed at the base will check permits, whether you’re day-hiking or backpacking.
Bear canisters are mandatory for storing food and any scented items. Black bears are active throughout Yosemite, and proper food storage is essential to protect both your supplies and the wildlife.
4. John Muir Trail, California (Yosemite to Mount Whitney)
The John Muir Trail, often hailed as one of the most scenic backpacking routes in the United States, stretches from Yosemite Valley to the summit of Mount Whitney – the tallest peak in the contiguous U.S. at 14,505 feet. This iconic trail winds through the breathtaking High Sierra, offering an unforgettable experience for outdoor enthusiasts. Let’s break down the trail’s distance, challenges, highlights, and the tricky permit process.
Trail Distance
The official length of the John Muir Trail is 211 miles, starting from Yosemite Valley and ending at Mount Whitney. However, most hikers tack on an extra 10 miles for the descent, making the total journey about 221 miles. Completing the trail typically takes two to three weeks, though some ultra-lightweight hikers manage to finish it in just 7 to 10 days.
Difficulty Level
This trail is no walk in the park – it’s rated 4 out of 5 in difficulty. Hikers face steep climbs and high-altitude terrain, with elevations consistently above 9,000 feet and mountain passes that soar between 11,000 and over 13,000 feet. Tackling this trail requires solid physical preparation, careful planning, and a good dose of determination.
Key Features
The John Muir Trail offers some of the most stunning landscapes in the Sierra Nevada. Hikers traverse rugged peaks, pass by countless waterfalls, and camp near idyllic wilderness lakes set against granite backdrops. Along the way, you’ll encounter iconic Yosemite landmarks like Half Dome and Nevada Fall, as well as the alpine beauty of Evolution Basin in Kings Canyon National Park. Each section of the trail reveals jaw-dropping vistas and a sense of increasing solitude.
Permit Requirements
Getting a permit for the John Muir Trail is often more challenging than the hike itself. Permit reservations open months in advance, so it’s essential to plan your itinerary and timeline early. To improve your chances, apply as soon as the window opens and consider alternative start dates or trailheads. Flexibility is key to securing your spot on this epic adventure.
5. Teton Crest Trail, Grand Teton National Park, Wyoming
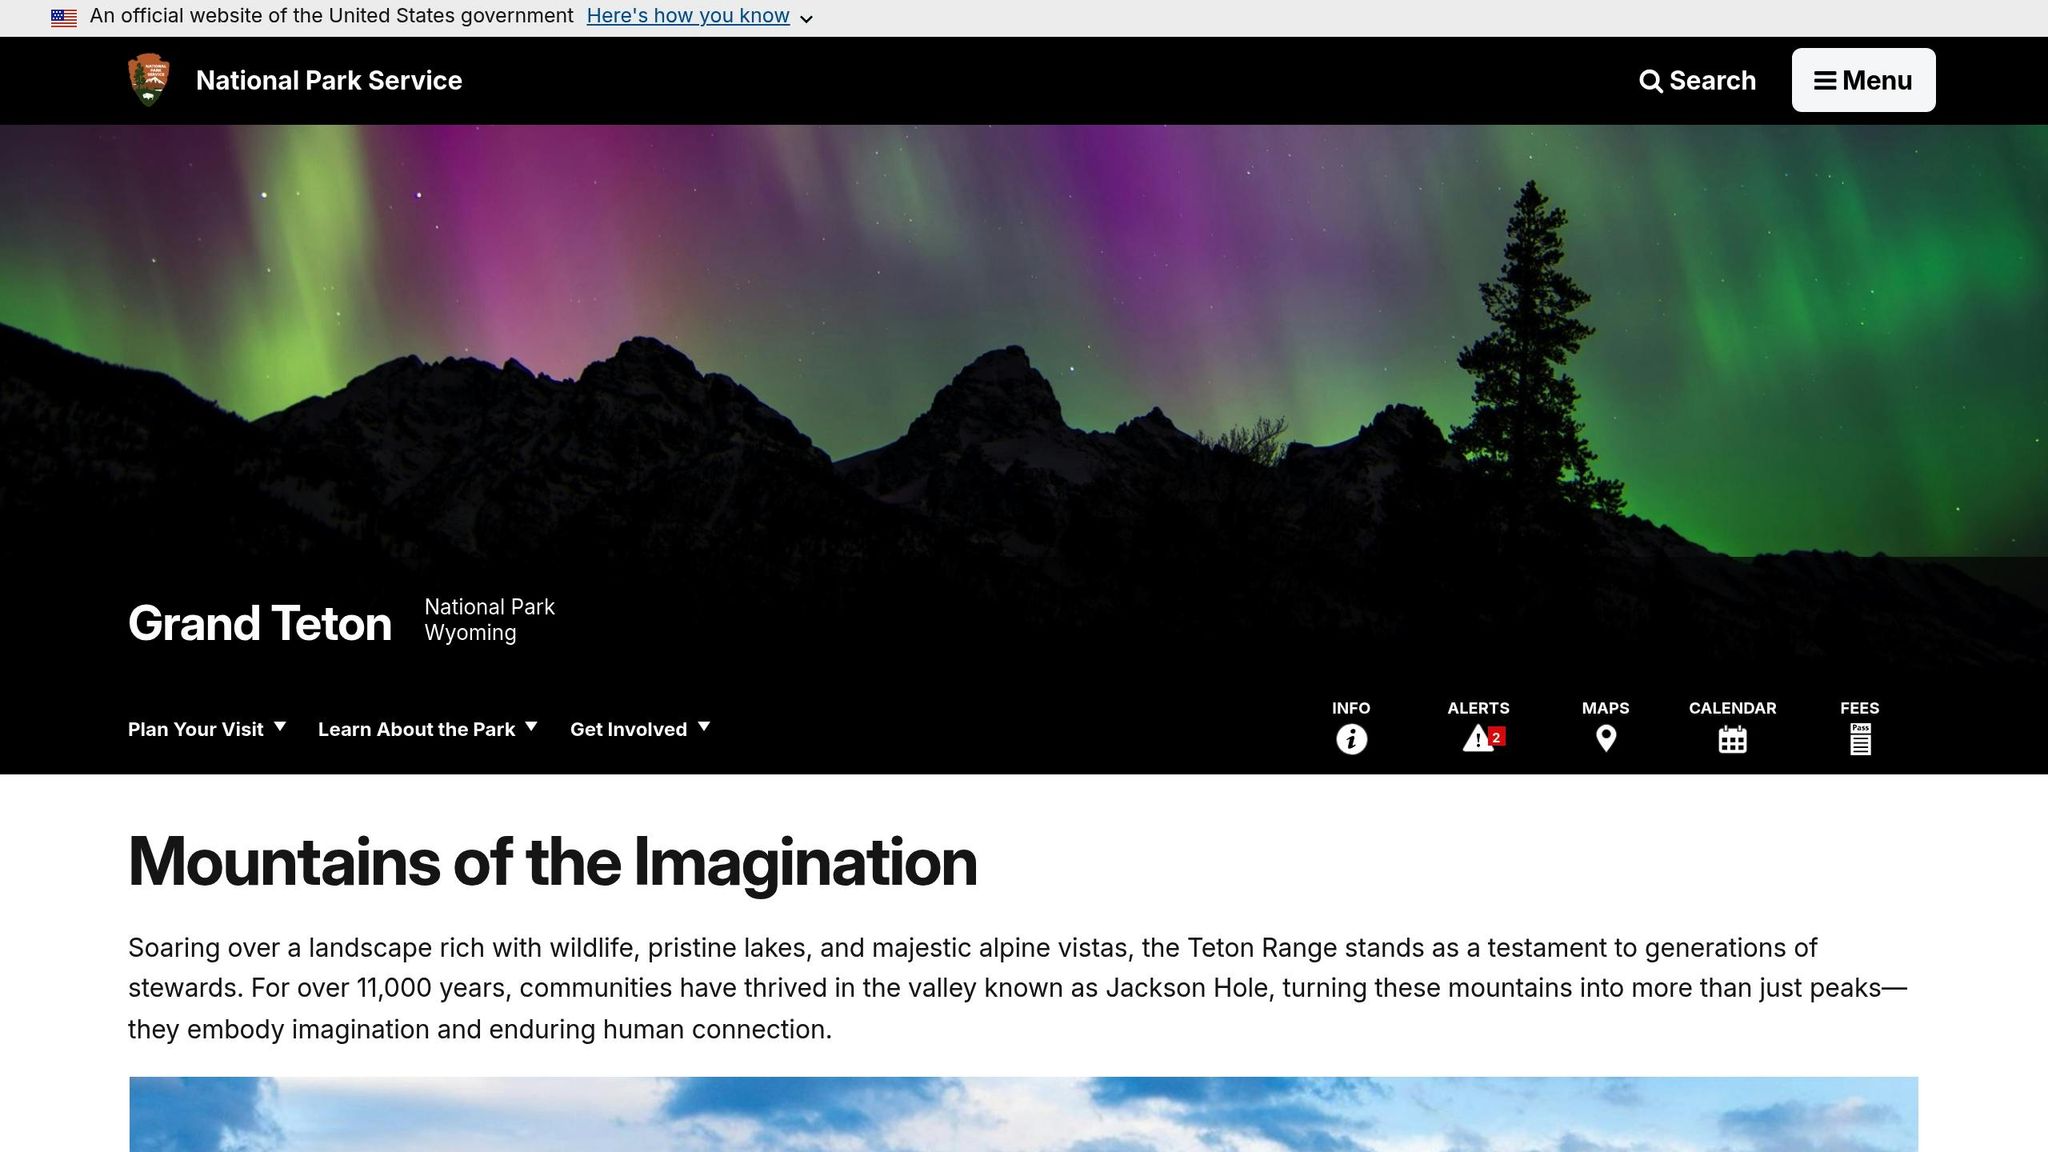
The Teton Crest Trail winds through the heart of Grand Teton National Park, offering some of the most breathtaking alpine views in the American West. Running north to south through the park’s rugged interior, much of the trail stays above the treeline, treating hikers to nearly uninterrupted panoramas of the iconic Teton peaks. If you’re after a backpacking adventure filled with dramatic mountain scenery and varied terrain, this trail is a must-experience.
Trail Distance
The trail stretches between 33 and over 40 miles, depending on your chosen route and starting and ending points. Most backpackers take at least three days to complete it, as the journey includes over 9,000 feet of elevation gain.
Difficulty Level
The Teton Crest Trail is rated 4 out of 5 in difficulty. With its high elevation, steep ascents, and exposed ridgelines, this trail demands solid physical fitness and preparation. Weather conditions can change quickly, adding to the challenge.
Key Features
This trail showcases the Teton Range in all its glory. Expect sweeping, 360-degree vistas, glaciers clinging to rugged peaks, and vibrant wildflower meadows during the summer. The path dips into stunning canyons before climbing to high mountain passes, creating a dynamic rhythm of descents and ascents that keeps the scenery fresh and ever-changing. Along the way, you’ll traverse dramatic ridges with jaw-dropping views and have plenty of chances to spot wildlife like moose, black bears, and marmots.
For many seasoned hikers, the Teton Crest Trail holds a special place. As Michael Lanza, Creator of The Big Outside, shares:
"One of my first big, Western backpacking trips was on the Teton Crest Trail in Wyoming’s Grand Teton National Park. That jagged skyline never fails to inspire me."
Permit Requirements
Planning ahead is essential to secure a backcountry permit for this trail, as they are in high demand and can be tough to get. Advance permits cost $20 per reservation, plus $7 per night per person, with a maximum of six people per site. Mark your calendar for January 10 at 8:00 A.M. MST, when early access permits become available. For those unable to snag one in advance, two-thirds of the permits are reserved for walk-up visitors, available one night before your hike during the season (May–October). The best conditions are typically from late June through August.
6. Under the Rim Trail, Bryce Canyon National Park, Utah
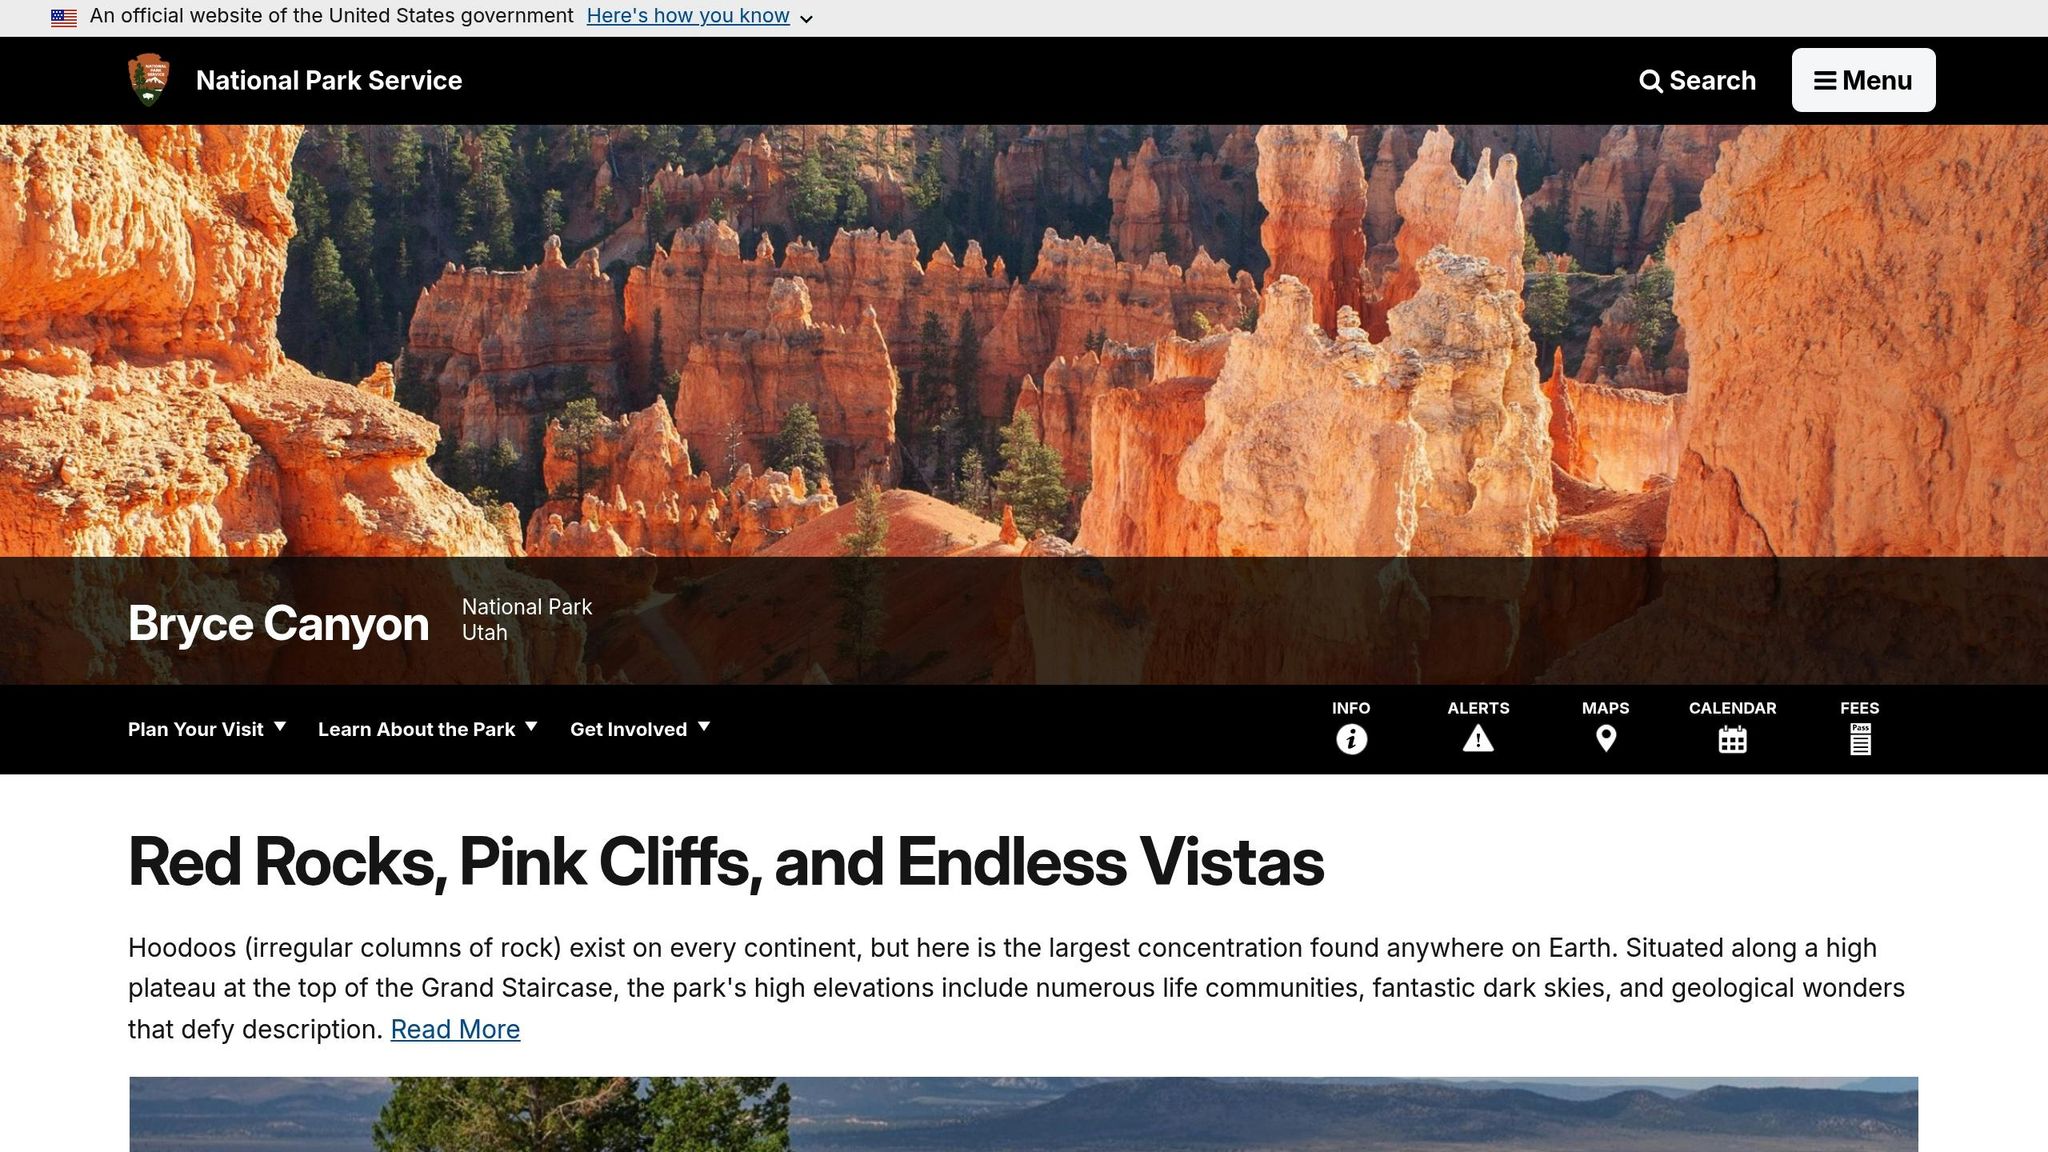
Continuing our exploration of America’s stunning parks, the Under the Rim Trail in Bryce Canyon offers a ground-level adventure that’s hard to beat. While most visitors stick to the park’s high overlooks, this trail takes you deep into the canyon for a closer, quieter experience. Walking beneath towering rock formations and through patches of forest, all bathed in Bryce Canyon’s iconic orange and red tones, offers a perspective that feels both personal and awe-inspiring.
Trail Distance
Stretching about 23 miles from Bryce Point to Rainbow Point, this trail is typically tackled over two to three days. Backpackers can pace themselves, soaking in the scenery and resting at designated campsites along the way.
Difficulty Level
The Under the Rim Trail is rated moderate to strenuous. While it doesn’t have the dramatic elevation changes of alpine routes, the terrain can be tough – think rocky paths, sandy stretches, and the demands of multi-day backpacking. The high desert environment adds to the challenge, with its intense sun and limited water sources, so preparation is key.
Key Features
What makes this trail special is the chance to see Bryce Canyon from a rarely explored angle. As Graham Averill from Outside magazine puts it, descending below the rim reveals an entirely different side of the park.
The trail leads you past Bryce’s signature hoodoos – those striking sandstone spires topped with harder rock. One standout area is the Hat Shop, where clusters of hoodoos create a surreal landscape. You’ll also pass towering orange cliffs and enjoy sweeping views that stretch into the Grand Staircase. Surprisingly, the trail isn’t all desert; you’ll encounter meadows and forests filled with ponderosa pines and aspen trees. Along the way, landmarks like the camping areas at Natural Bridge and Yellow Creek provide convenient stopping points. For those looking to explore even more, the Wall of Windows is a worthwhile side hike that adds an extra layer of wonder to the journey.
Permit Requirements
Camping on the Under the Rim Trail requires a permit, and to protect the area’s delicate ecosystem, overnight stays are limited to six designated campsites. Permits are priced at $10 per reservation plus $5 per person, with a maximum of six people per site. Reservations open up to three months in advance, and during the busy season (late spring through early fall), it’s smart to plan ahead to secure your spot.
7. Appalachian Trail Section, Great Smoky Mountains National Park, Tennessee and North Carolina
The Appalachian Trail (AT) carves out a stunning 72-mile stretch through Great Smoky Mountains National Park, offering hikers a chance to experience one of the most biodiverse areas in the United States. This section, running along the NC–TN border from Lake Fontana to Davenport Gap, is packed with natural beauty and challenges that make it a highlight of the 2,190-mile trail.
Trail Distance
The Smokies section of the AT spans 72 miles, typically taking hikers seven days or more to complete. For those looking for a shorter trek, the "Bottom to Top" route offers a 34-mile alternative that can be tackled in three to four days.
Difficulty Level
This part of the AT is no walk in the park. With 20,000 feet of elevation gain, the terrain is rugged and demanding. Hikers will traverse some of the tallest peaks east of the Rockies, including the 6,593-foot Mount LeConte. The combination of steep climbs, fluctuating weather, and high humidity means this trail rewards only those in top physical condition.
Key Features
The trail offers a fascinating journey through diverse ecosystems. At lower elevations, you’ll hike through thick hardwood forests, while higher up, the landscape transitions to sparse evergreen ridges. Along the way, you’ll pass iconic landmarks like Clingmans Dome, the park’s highest point at 6,643 feet, and Andrews Bald, which rises to 5,920 feet. Great Smoky Mountains National Park is also home to an incredible 1,600 species of flowering plants, including 76 that are threatened or endangered. Depending on the season, you might encounter wildflower blooms, fiery autumn colors, or the misty allure that gives the Smokies their name.
Permit Requirements
Planning an overnight trip? You’ll need a permit to stay in or near the AT shelters, which costs $8 per night per person. Hikers must carry a printed copy of either an A.T. Thru-hiker or General Backcountry Permit at all times. Thru-hiker permits can be secured up to 30 days before your planned entry. If you’re parking a vehicle in the park for more than 15 minutes, a valid parking tag is also required.
8. North Country National Scenic Trail, Pictured Rocks National Lakeshore, Michigan
The North Country National Scenic Trail winds through the stunning Pictured Rocks National Lakeshore in Michigan’s Upper Peninsula, offering backpackers breathtaking views of Lake Superior’s shoreline. If you’re planning an overnight adventure, make sure to prepare in advance to meet the necessary requirements.
Permit Requirements
To camp overnight at Pictured Rocks, you’ll need a backcountry permit. These permits become available starting January 1 at 10:00 A.M. EST. The cost includes a $15 reservation fee, plus $5 per person per night. Each campsite can host up to six people. Since lakeside sites are particularly popular, securing your permit early is highly recommended.
9. Lost Coast Trail, California (Sinkyone Wilderness)
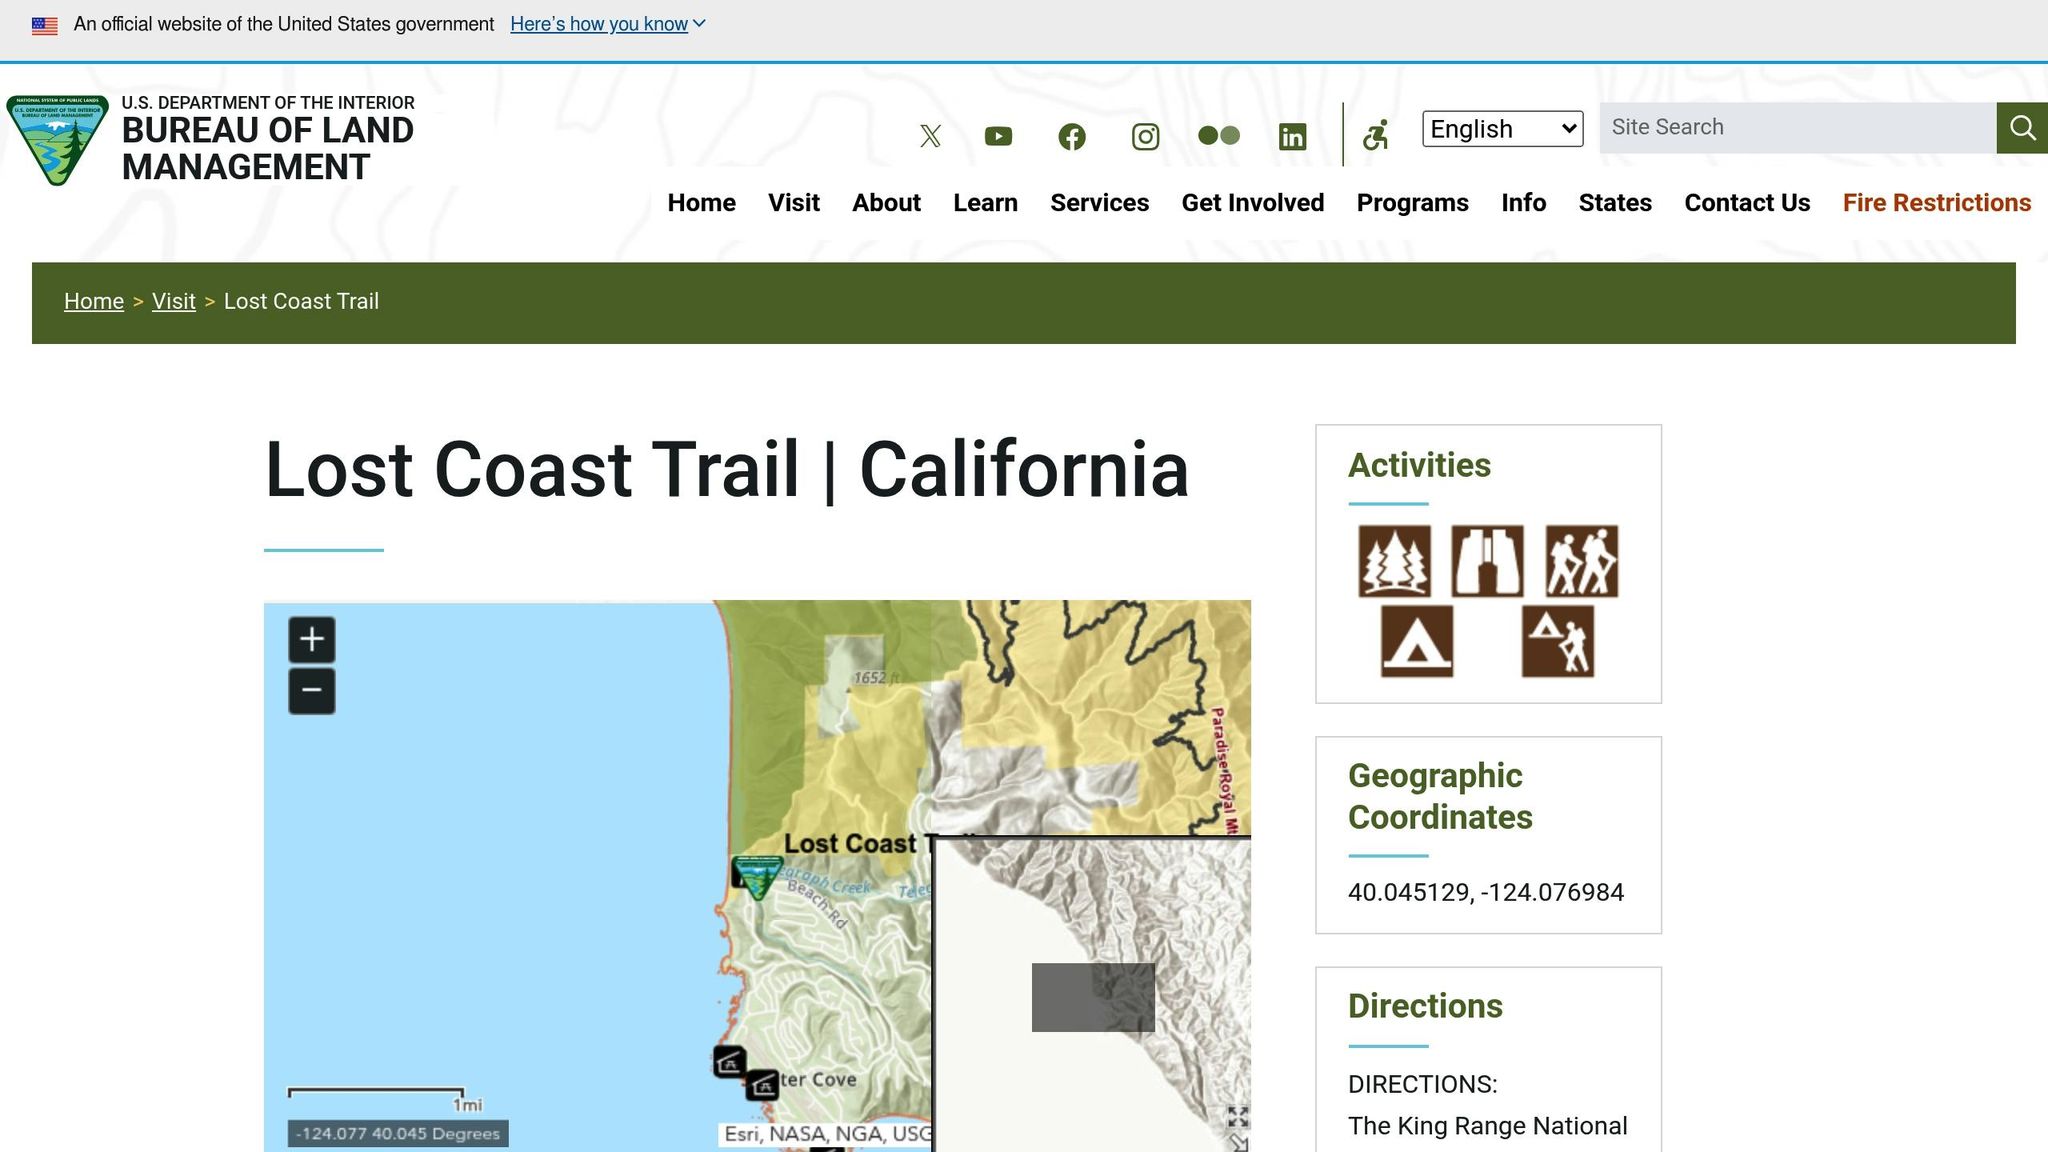
The Lost Coast Trail offers an unforgettable trek along one of California’s most secluded coastlines. In the southern section, which winds through Sinkyone Wilderness State Park, hikers encounter stunning black sand beaches, landmarks like Needle Rock, and the serene beauty of Hidden Valley. Below, you’ll find key details about the trail’s length, challenges, highlights, and permit requirements to help you plan this rugged coastal journey.
Trail Distance
This remote stretch of the Lost Coast Trail spans multiple days, so careful planning is essential. The southern section takes you through a variety of landscapes, making it a rewarding but demanding adventure.
Difficulty Level
Expect a mix of moderate to strenuous terrain. The trail includes rocky headlands, unstable bluffs, and unpredictable weather conditions. Given its isolation, it’s crucial to carry reliable navigation tools and emergency gear.
Key Features
The southern portion of the trail is famous for its striking contrasts. The black sand beaches meeting the Pacific Ocean create a dramatic and otherworldly setting. As you move inland, the scenery transforms into dense coastal forests and the unique ecosystem of Hidden Valley, offering a blend of open vistas and sheltered wilderness.
Permit Requirements
Before heading out, check the latest permit regulations with Sinkyone Wilderness State Park. Staying updated on current rules and booking procedures will ensure your trip goes smoothly.
sbb-itb-00512f3
10. Cascade Pass to Sahale Glacier, North Cascades National Park, Washington
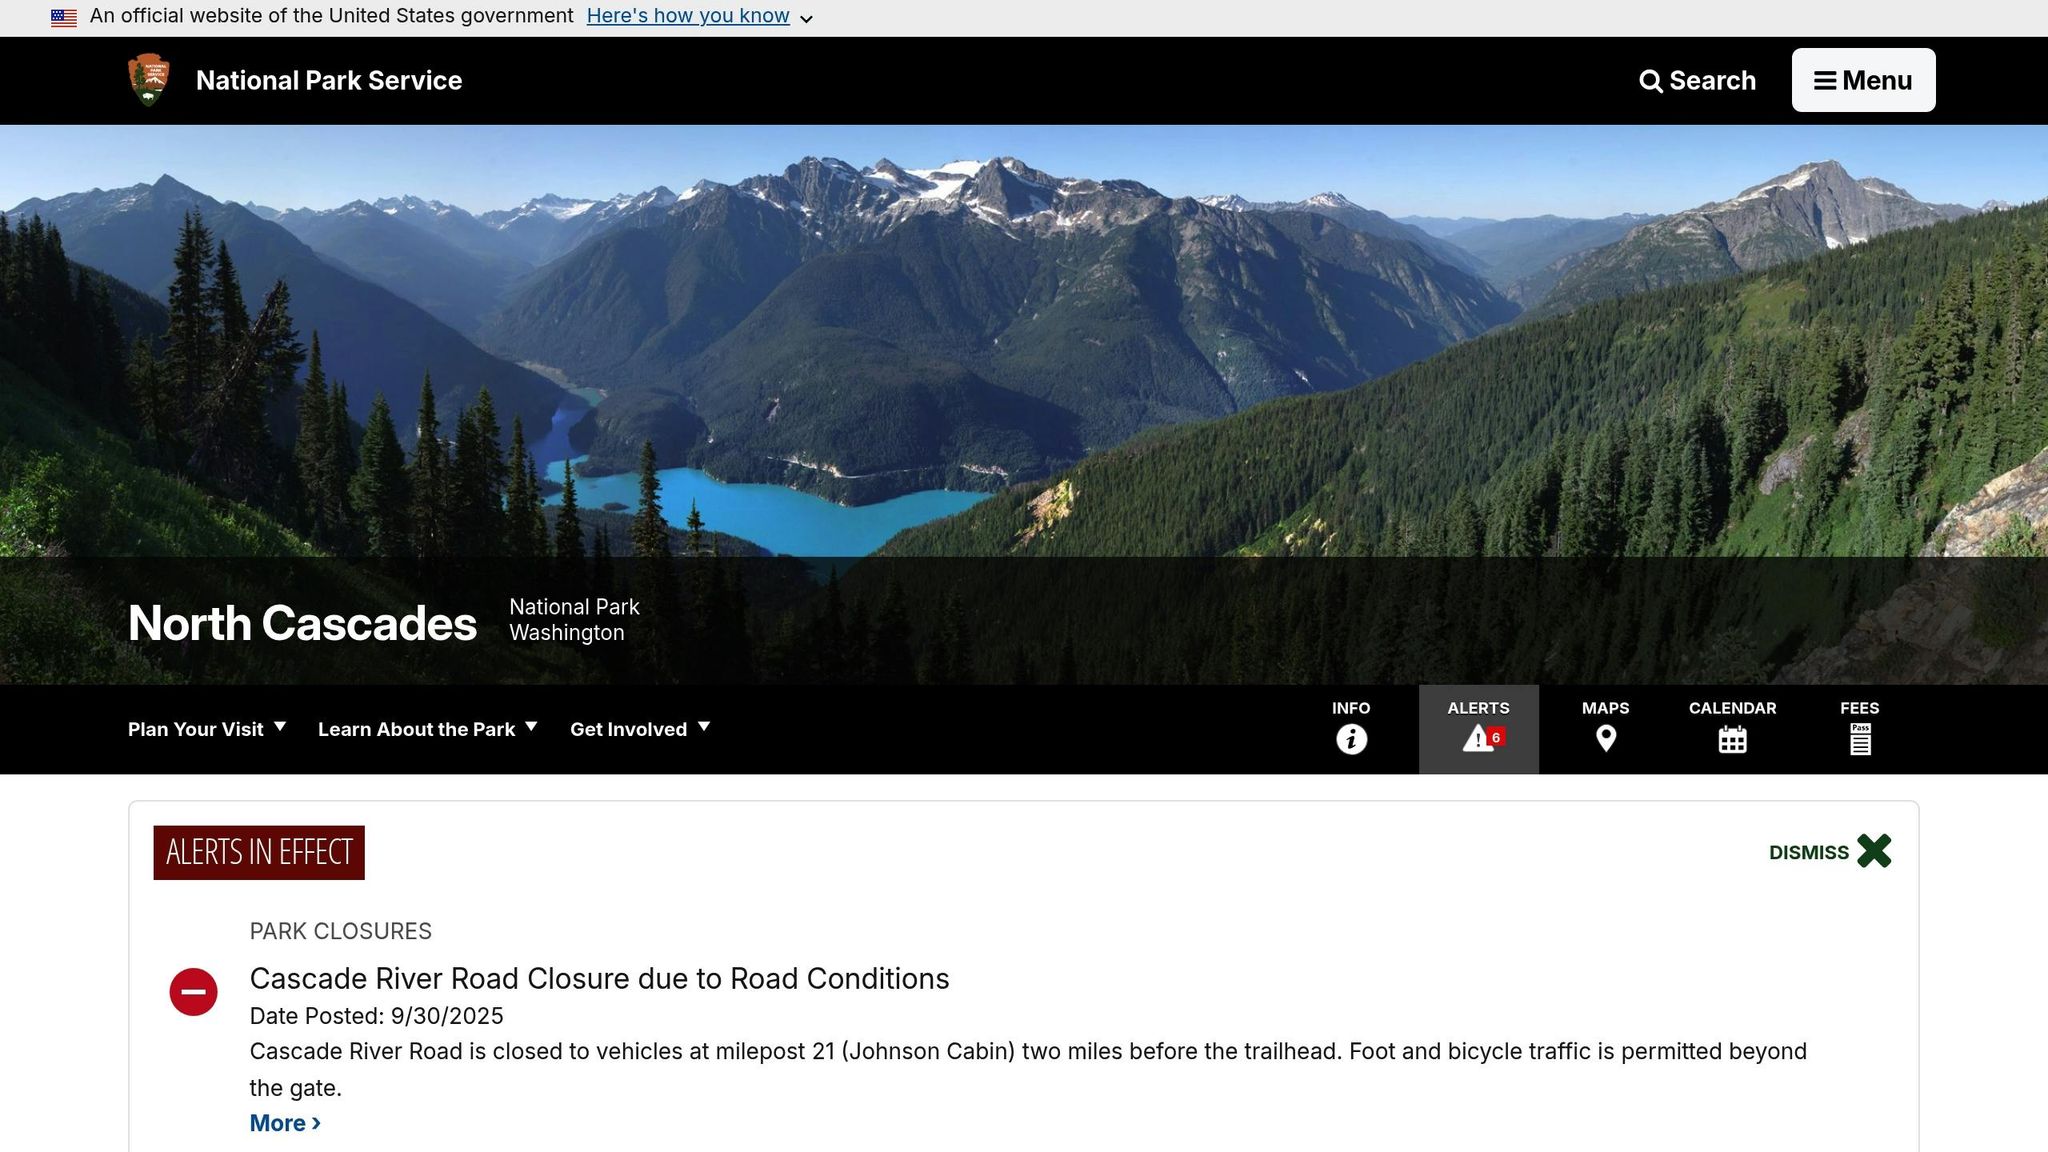
The Cascade Pass to Sahale Glacier trail delivers an unforgettable alpine adventure in the heart of North Cascades National Park. This high-altitude route takes you from meadows bursting with wildflowers to the icy edge of Sahale Glacier, offering breathtaking views of jagged peaks and cascading waterfalls. It’s no wonder this trail is a must-visit for backpacking enthusiasts.
Here’s what you need to know about this iconic trail.
Trail Distance
The round-trip hike spans about 12 miles, starting at the Cascade Pass trailhead and reaching Sahale Glacier Camp before looping back. The initial stretch to Cascade Pass covers 3.7 miles and involves a steady climb of roughly 1,800 feet in elevation. From there, the trail continues for another 2.3 miles to Sahale Glacier Camp, where hikers face an additional 2,600 feet of elevation gain as the terrain becomes increasingly rugged and alpine.
Difficulty Level
This trail is classified as strenuous due to its significant elevation gain and challenging alpine conditions. The total climb to Sahale Glacier Camp is around 4,400 feet, and the final section features steep switchbacks on rocky slopes, often with lingering snowfields. The weather can shift quickly at these elevations – summer afternoons frequently bring thunderstorms – so hikers need to be physically prepared and comfortable navigating alpine terrain. The thinner air above 7,000 feet can also make the climb more demanding.
Key Features
Cascade Pass, situated at 5,400 feet, acts as a natural divide between the Stehekin and Skagit valleys. From the pass, you’ll enjoy sweeping views of the surrounding peaks, including the striking Sahale Mountain. Beyond the pass, the trail transitions into a stark alpine setting where glacial ice meets exposed rock. At approximately 7,600 feet, Sahale Glacier Camp offers incredible views of the glacier’s crevasses and the dramatic peaks of the Ptarmigan Traverse.
The area below Cascade Pass is rich with wildflowers like lupine, paintbrush, and avalanche lilies, which bloom from mid-July to August. Wildlife sightings are common – mountain goats often graze near the trail, and marmots can be seen basking on sunlit rocks. However, like many glaciers in the Cascades, Sahale Glacier has been retreating steadily over recent decades.
Permit Requirements
If you’re planning to camp overnight, a permit is required for all backpacking trips in North Cascades National Park, including this route. Sahale Glacier Camp permits are among the most sought-after in the park due to the site’s limited capacity and popularity.
The park operates a lottery system for advance reservations, with applications typically due by March 15 for the upcoming season. If you don’t secure a permit through the lottery, walk-up permits are available at the Wilderness Information Center in Marblemount, but these permits go fast – arriving early, possibly the day before your intended hike, is highly recommended.
To increase your chances of securing a permit, consider these tips:
- Have 2–3 backup campsite options ready when applying.
- Plan your trip for a weekday instead of a weekend.
- Use the camp availability table on the North Cascades National Park website to track open spots.
Even with a reservation from the lottery, you’ll need to pick up your physical permit in person or coordinate with the park office for alternative arrangements. For hikers starting from locations other than Marblemount – such as Stehekin, Baker, or Washington Pass – permit pickup can be arranged via email with the park office.
This trail promises an unforgettable experience, but preparation and planning are key to making the most of your adventure.
11. Chesler Park Loop, Canyonlands National Park, Utah
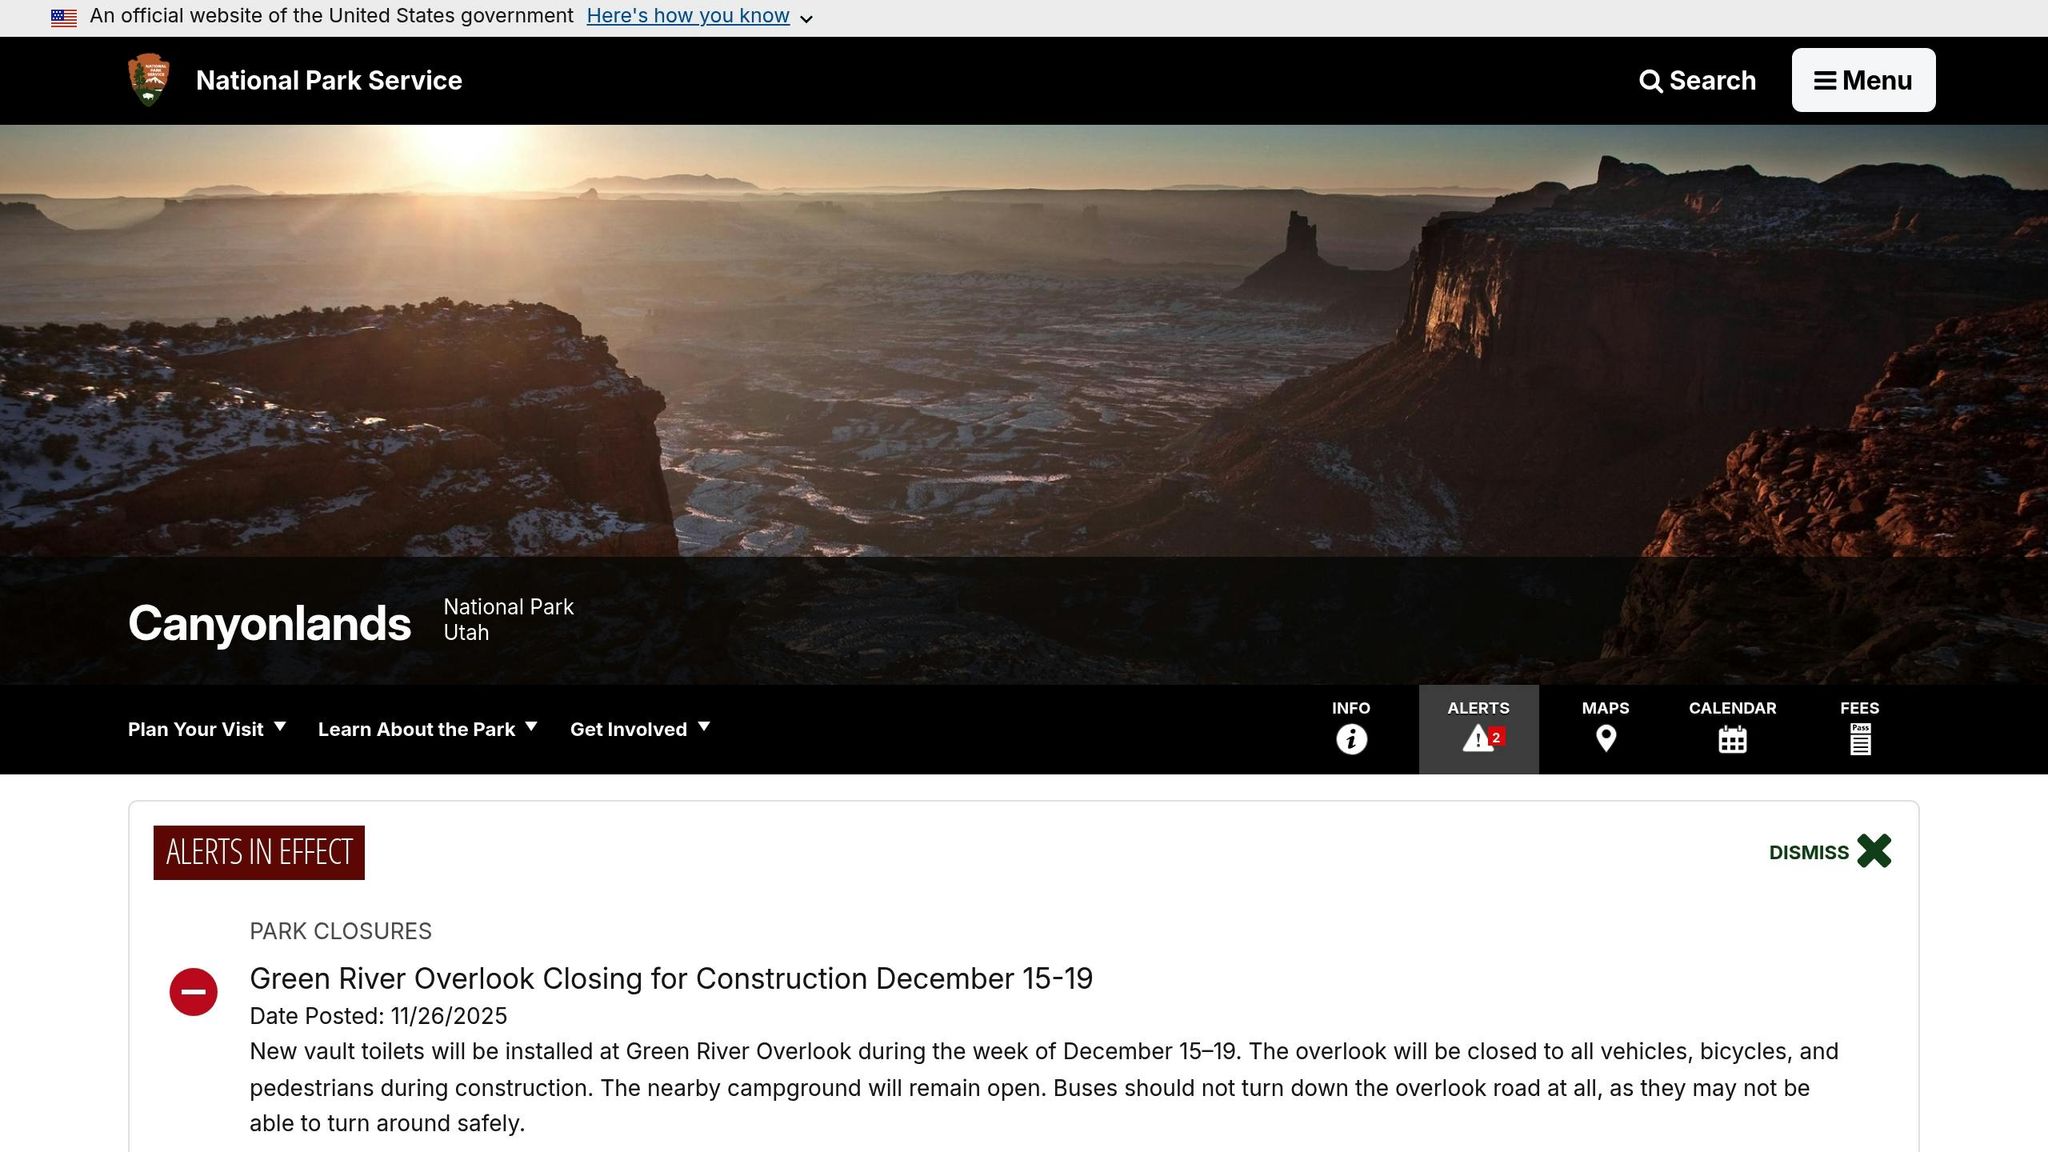
The Chesler Park Loop takes you deep into the rugged and remote Needles District of Canyonlands National Park. This trail offers a striking mix of desert landscapes and challenging terrain. Picture towering sandstone spires, narrow slot canyons, and sweeping slickrock – it’s a feast for the eyes and a test for your hiking skills. Along the way, you’ll scramble through tight spaces, wander through a grassy valley encircled by dramatic rock formations, and even have the option to take a side trip to a stunning natural arch.
Here’s a closer look at what you can expect.
Trail Distance
Hiking distances in the Needles District vary, typically ranging from 7 to over 20 miles spread across 2–3 days. If you’re up for it, you can add the 4-mile round-trip trek to Druid Arch, which bumps up the total mileage. The area also offers flexibility, with nearby trails like Big Spring, Squaw, Lost, and Peekaboo Trails providing additional options for exploration.
Difficulty Level
The Chesler Park Loop is rated moderate to strenuous, thanks to its technical challenges. Expect to navigate steep stairs carved into stone, squeeze between massive boulders, and traverse narrow rock passages. One of the most demanding sections is the Joint Trail, a 1.5-mile stretch where you’ll scramble over sandstone slopes and wind your way through towering slot canyons.
Key Features
This loop combines four unique trail sections, each offering something special:
- Elephant Canyon Trail: Start your journey by climbing stone-carved stairs and squeezing through tight spaces between boulders. It’s a thrilling introduction to the area’s rugged beauty.
- Druid Arch: This 150-foot-tall natural arch is a showstopper. The 4-mile side trail to Druid Arch offers some of the most breathtaking views in the district.
- Chesler Park: The centerpiece of the loop is a wide, grassy valley surrounded by sandstone spires that can soar up to 300 feet high. These towering formations, resembling candlesticks, stand against the backdrop of layered cliffs stretching into the distance.
- Joint Trail: A highlight of the loop, this 1.5-mile section challenges hikers with narrow slot canyons and sandstone slopes. The formations here resemble a frozen ocean, adding a surreal touch to the experience.
The loop’s variety – slot canyons, natural arches, slickrock expanses, and sandy washes – puts the geological wonders of Canyonlands on full display.
Permit Requirements
Planning an overnight trip? You’ll need a backcountry permit for camping in Canyonlands National Park. Permits for the Needles District are highly sought after, so it’s best to apply as soon as they’re released – often months in advance. To improve your chances, have backup dates and alternative campsites ready. This permit system helps protect the delicate desert ecosystem and keeps the area from becoming overcrowded.
Chesler Park Loop offers a blend of adventure, challenge, and natural beauty, making it a must-experience for anyone exploring the American Southwest’s national parks.
12. Emerald Lake Trail, Rocky Mountain National Park, Colorado
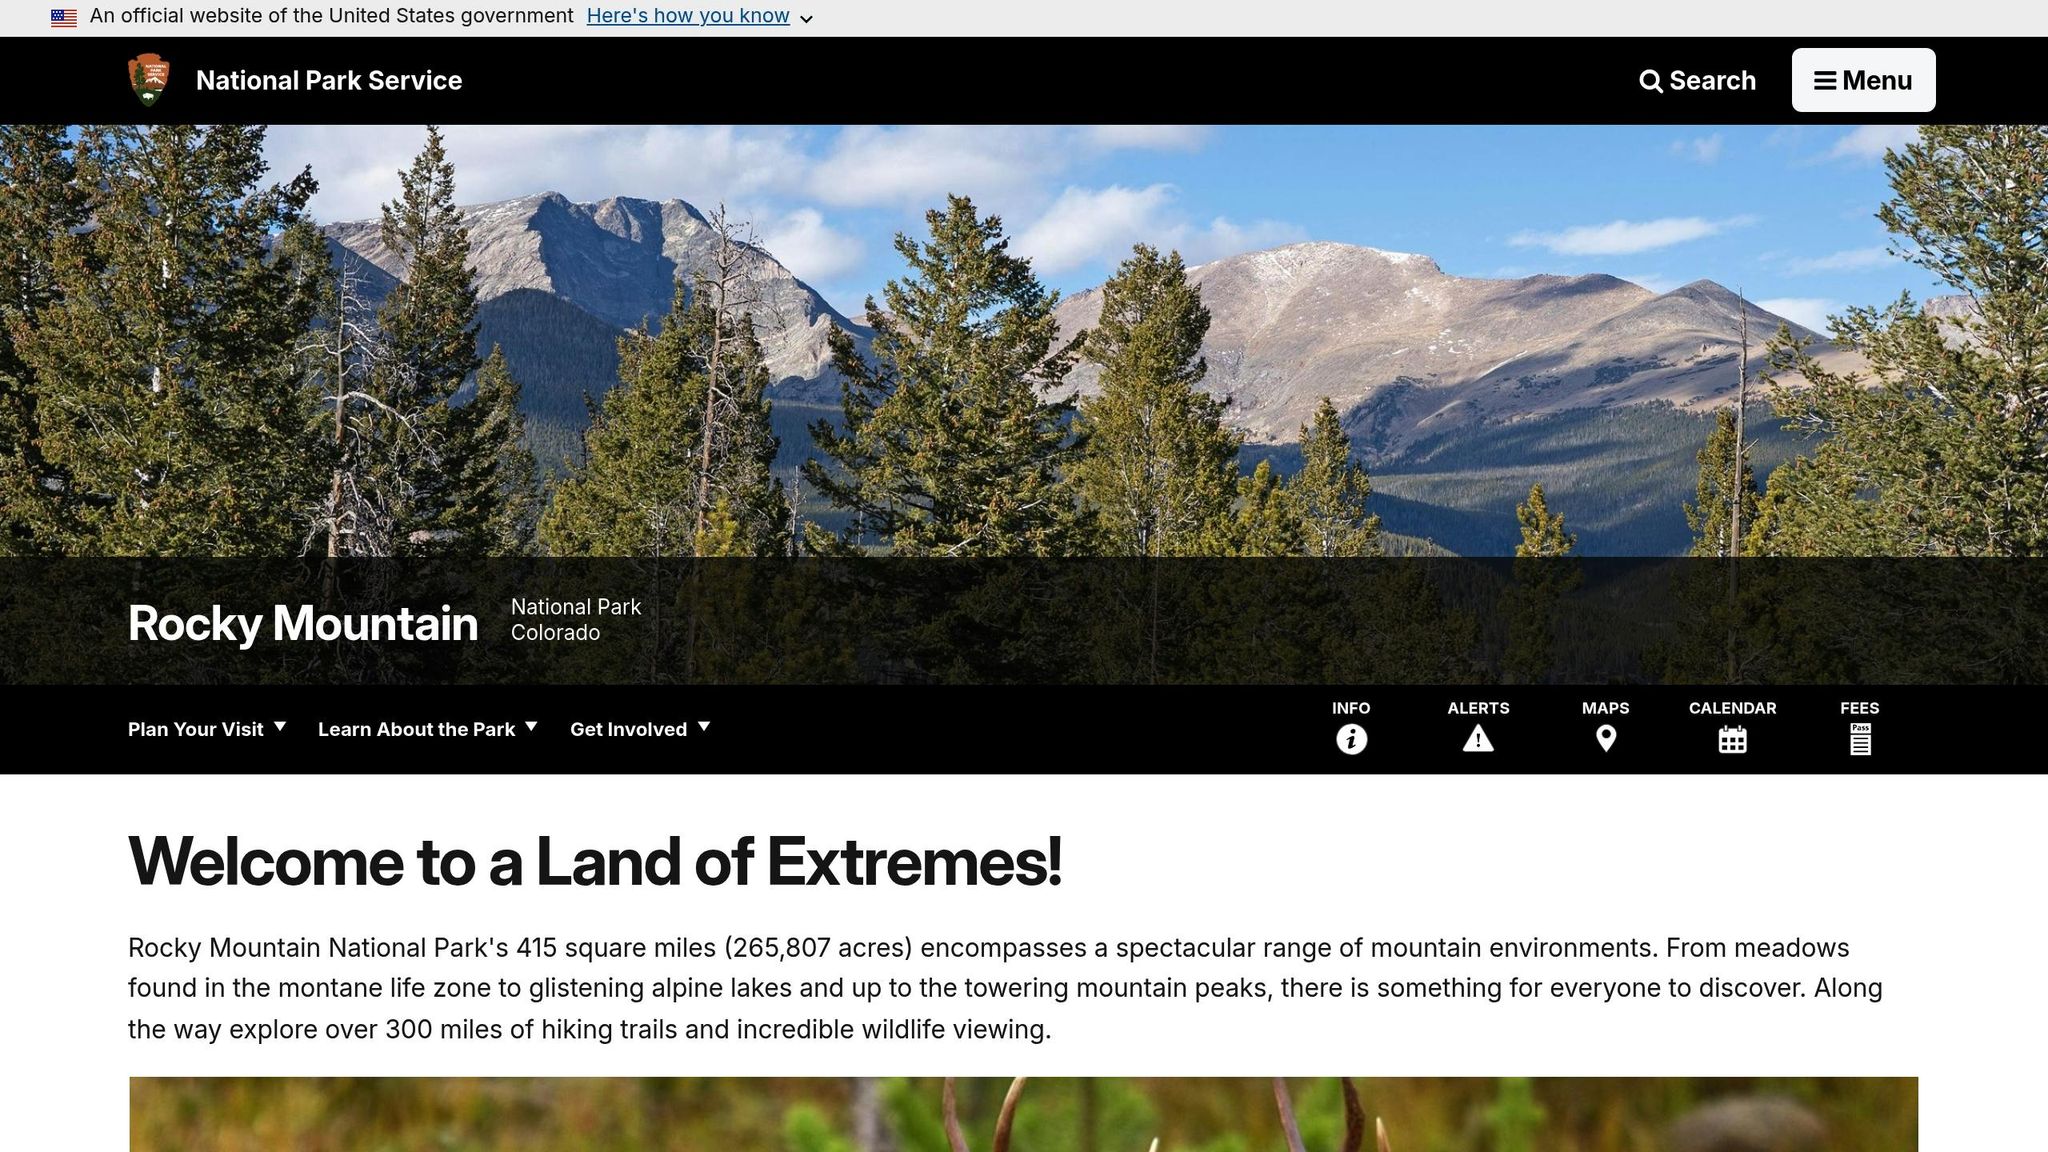
The Emerald Lake Trail offers a chance to dive into the breathtaking alpine beauty of Rocky Mountain National Park. Along the way, you’ll encounter stunning mountain views, diverse wildlife, and vibrant wildflowers that change with the seasons. The trail takes you from lush, forested foothills to wide-open alpine landscapes, providing a true taste of the park’s rugged charm. While specific trail details aren’t listed here, this route encapsulates the essence of exploring the Rockies’ backcountry.
Before heading out, make sure to check the latest wilderness camping permit requirements if you’re planning an overnight trip. These permits play a key role in safeguarding the park’s fragile ecosystem.
Discover the timeless beauty and wild spirit of Rocky Mountain National Park.
13. Maple Pass Loop, North Cascades National Park, Washington
The Maple Pass Loop offers backpackers a chance to immerse themselves in the dramatic alpine scenery that defines North Cascades National Park. This trail showcases a stunning mix of dense forest paths and wide-open alpine views, making it a must-see for anyone who loves breathtaking mountain landscapes.
Before heading out, make sure to check the latest trail details, including distance, elevation gain, and notable landmarks, as these can change. It’s always a good idea to confirm current conditions with North Cascades National Park.
Don’t forget to secure any required permits, especially if you’re planning an overnight stay. And be prepared for unpredictable mountain weather – layered clothing and proper gear will help ensure your adventure is both safe and unforgettable.
14. Lost Mine Trail, Big Bend National Park, Texas
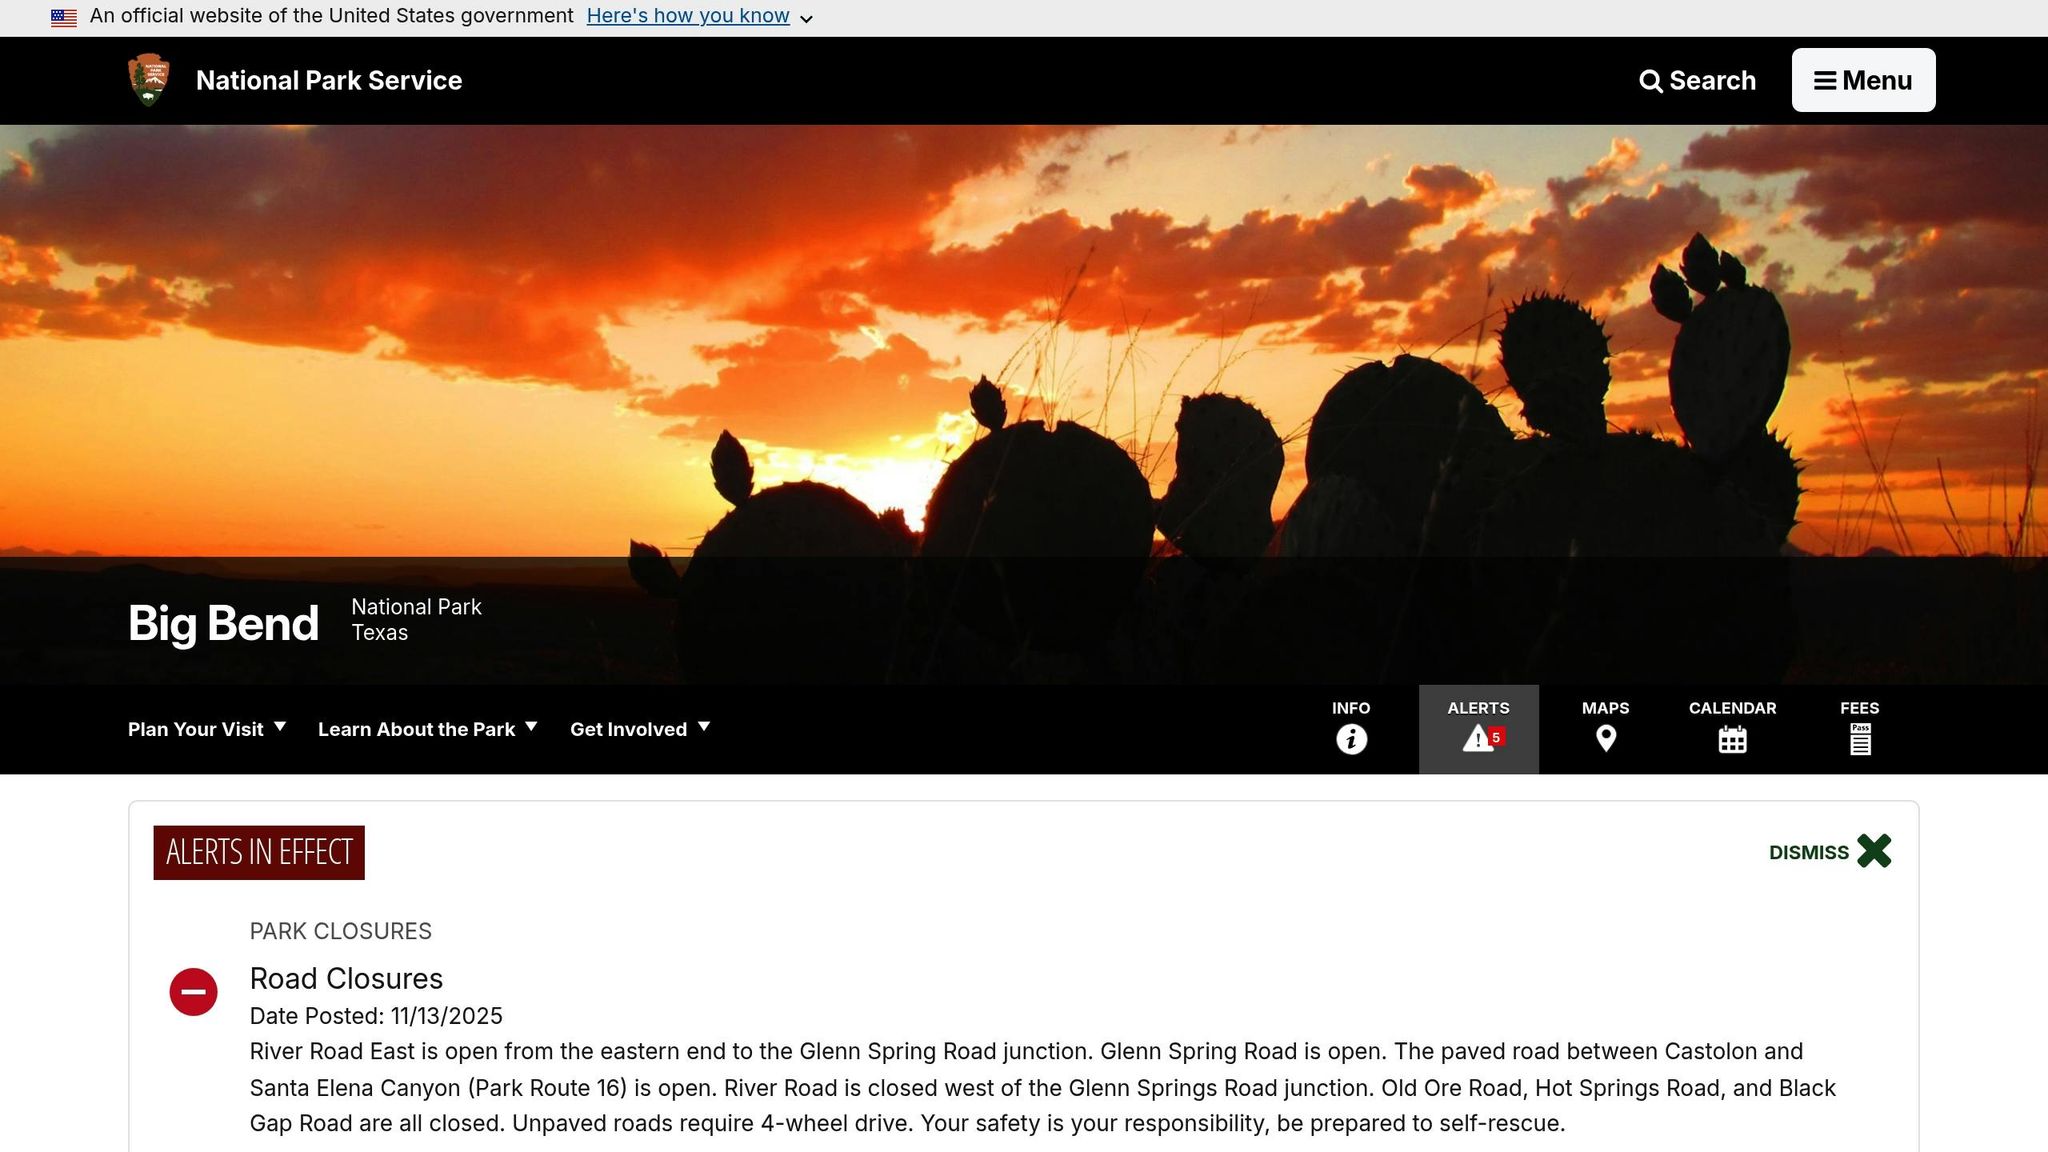
Big Bend National Park, known for its sweeping Chihuahuan Desert and the dramatic Chisos Mountains, sets the stage for the stunning Lost Mine Trail. This hike combines desert vistas, rugged canyons, and mountain landscapes, offering a glimpse into the park’s diverse terrain and natural beauty.
Here’s what you need to know to plan your hike on the Lost Mine Trail.
Trail Distance
The Lost Mine Trail spans 4.8 miles as an out-and-back route, typically taking 2 to 3 hours to complete. While it’s a popular choice for a day hike, it also serves as a great introduction to Big Bend’s high-altitude terrain for those considering longer backpacking adventures in the area.
Difficulty Level
Rated as moderate, the trail climbs about 1,100 feet in elevation. It winds steadily through pinyon-juniper woodlands, leading to incredible viewpoints. The path is well-maintained, but the starting elevation of 5,600 feet and the desert sun can make the hike challenging for those not accustomed to high-altitude conditions.
Highlights Along the Trail
The Lost Mine Trail is celebrated for its spectacular views. From the summit, you’ll be treated to panoramic sights of Pine Canyon, Juniper Canyon, and the Chisos Basin, with the desert lowlands stretching toward Mexico and the Sierra del Carmen range across the Rio Grande.
The trail’s name stems from a local legend about a hidden Spanish mine, adding a layer of mystery to the journey. Along the way, hikers pass through diverse ecosystems, transitioning from desert scrub to oak and pine forests. Wildlife is abundant – you might spot mule deer, javelinas, or even the Colima warbler, a bird that nests exclusively in the Chisos Mountains during the summer.
For the best experience, hike early in the morning or late in the afternoon. These cooler hours not only make the climb more comfortable but also offer dramatic lighting that enhances the beauty of the rock formations and distant peaks. Sunrise hikes, in particular, provide unforgettable views as the first light hits the landscape.
Permit Information
You won’t need a permit for day hikes on the Lost Mine Trail. However, if you’re planning overnight backcountry camping elsewhere in Big Bend, permits are required and can be obtained at the park’s visitor centers. Given the park’s remote location and the potential for extreme temperatures, it’s crucial to carry plenty of water – at least one gallon per person – and be prepared for sudden weather changes, especially in the mountains.
15. Blue Mesa Trail, Petrified Forest National Park, Arizona
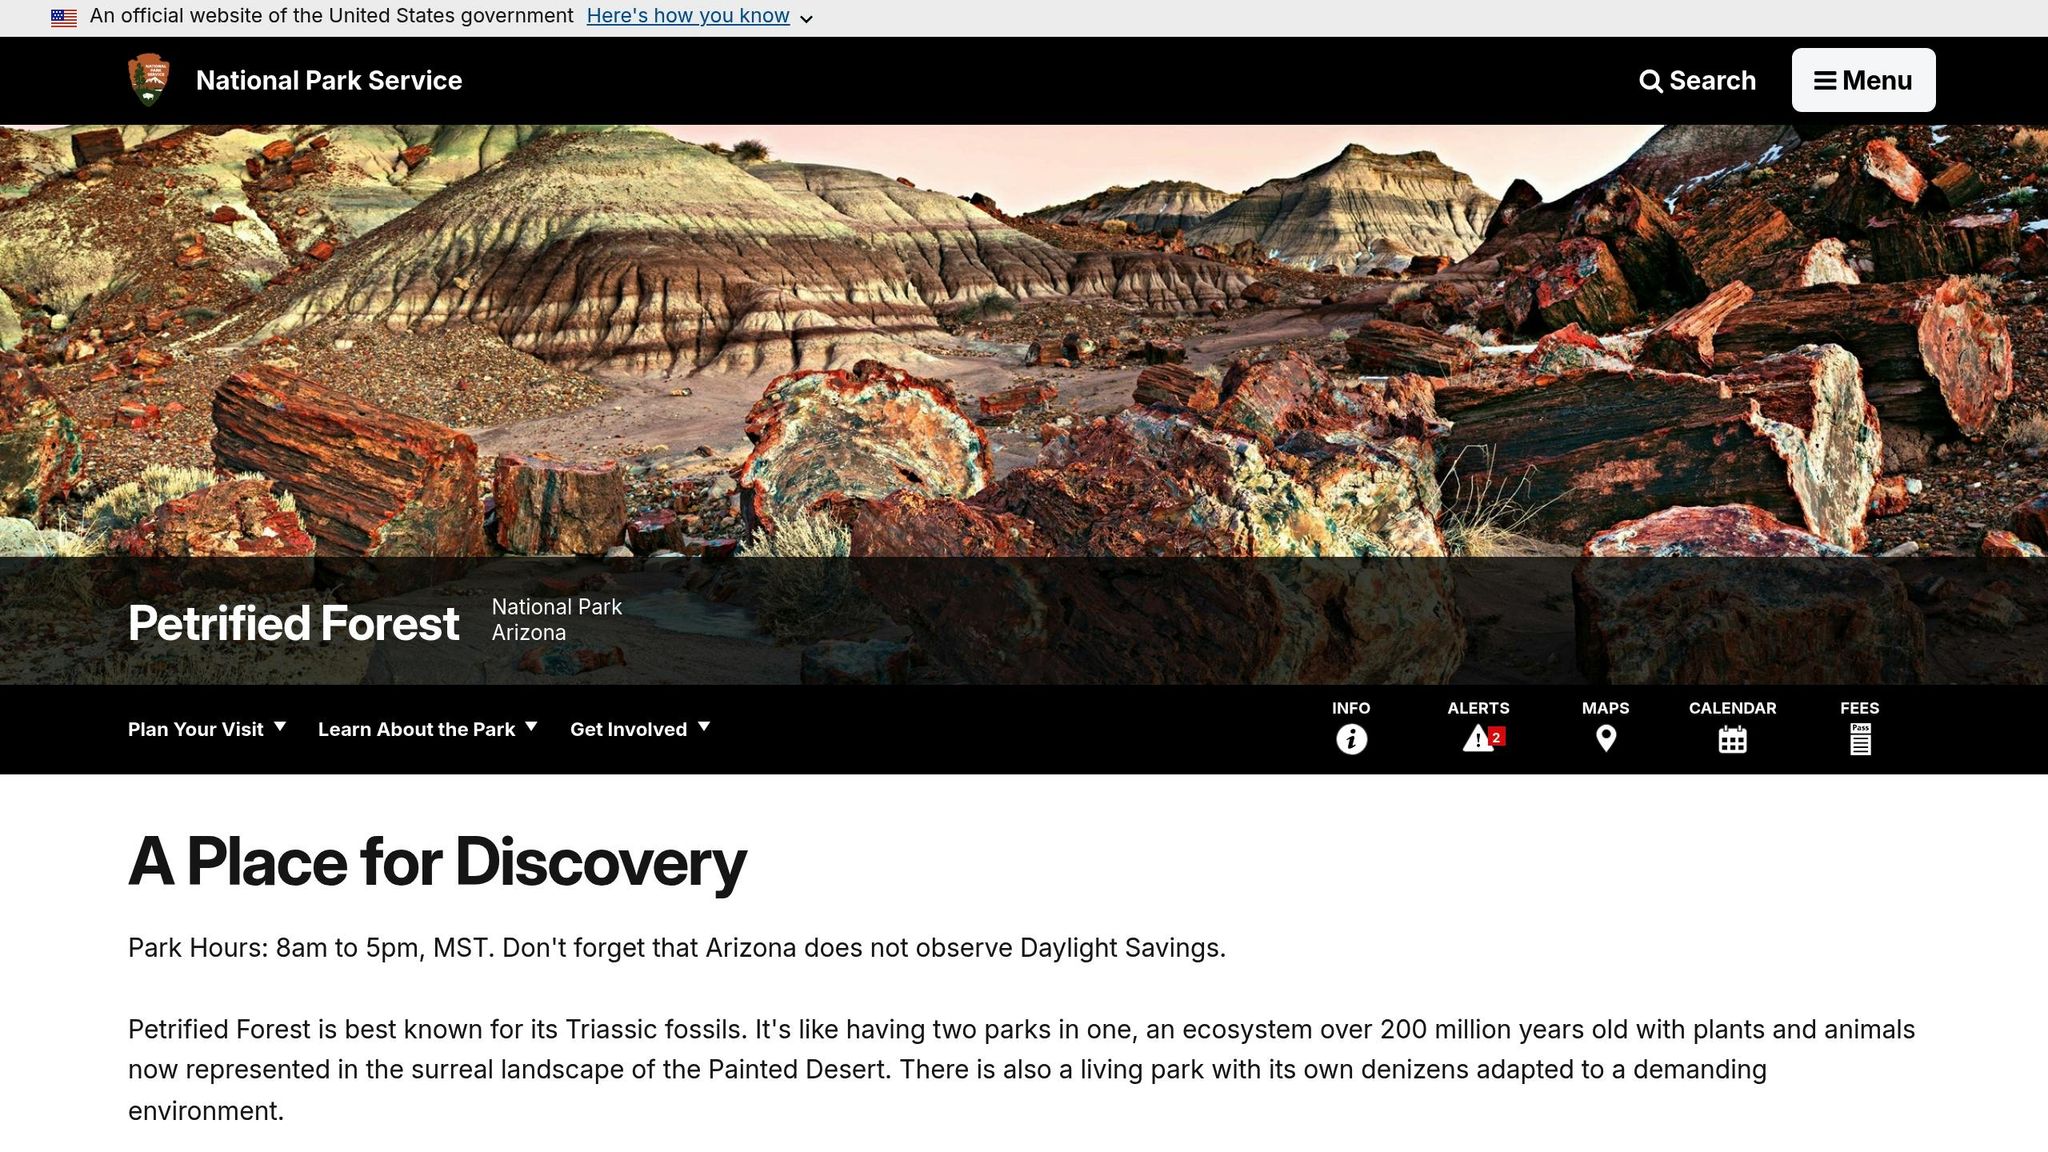
The Blue Mesa Trail offers one of the standout experiences in Petrified Forest National Park. This 3-mile hike winds through the park’s striking badlands, giving visitors a chance to immerse themselves in this otherworldly terrain.
Trail Details
The trail covers about 3 miles, making it a manageable yet rewarding hike for most visitors.
Permits and Fees
You won’t need a permit to hike the Blue Mesa Trail, but standard park admission fees apply. It’s always a good idea to check with the National Park Service or stop by the park’s visitor center for up-to-date information on trail conditions or possible closures before you set out.
Trail Comparison Table
Choose your adventure based on your fitness level, schedule, and preferred challenge. The table below provides a quick overview of key details for each trail, making it easier to compare options side by side.
| Trail Name | Location | Distance | Duration | Difficulty | Elevation Gain | Best Season | Permit Required |
|---|---|---|---|---|---|---|---|
| Bechler River Traverse | Yellowstone NP, WY | 28 miles | 3-4 days | Moderate | 1,200 ft | July-September | Yes |
| Grand Canyon Rim-to-Rim | Grand Canyon NP, AZ | 24 miles | 2-3 days | Strenuous | 5,761 ft | May-June, September-October | Yes |
| Half Dome and Cloud’s Rest Loop | Yosemite NP, CA | 19 miles | 2-3 days | Strenuous | 4,800 ft | July-September | Yes |
| John Muir Trail | Yosemite to Mount Whitney, CA | 211 miles | 18-21 days | Strenuous | 47,000 ft | July-September | Yes |
| Teton Crest Trail | Grand Teton NP, WY | 40 miles | 4-6 days | Strenuous | 6,500 ft | July-September | Yes |
| Under the Rim Trail | Bryce Canyon NP, UT | 23 miles | 2-3 days | Moderate | 1,500 ft | May-June, September-October | Yes |
| Appalachian Trail Section | Great Smoky Mountains NP, TN/NC | 71 miles | 5-7 days | Moderate to Strenuous | 16,000 ft | April-May, September-October | Yes |
| North Country Trail Section | Pictured Rocks NL, MI | 42 miles | 3-5 days | Moderate | 2,000 ft | June-September | No |
| Lost Coast Trail | Sinkyone Wilderness, CA | 25 miles | 2-4 days | Moderate | 3,000 ft | April-June, September-October | No |
| Cascade Pass to Sahale Glacier | North Cascades NP, WA | 12 miles | 2 days | Strenuous | 4,000 ft | July-September | Yes |
| Chesler Park Loop | Canyonlands NP, UT | 11 miles | 2 days | Moderate | 900 ft | March-May, September-November | Yes |
| Emerald Lake Trail | Rocky Mountain NP, CO | 3.6 miles | 1 day | Moderate | 650 ft | June-September | No |
| Maple Pass Loop | North Cascades NP, WA | 7.2 miles | 1 day | Moderate | 2,000 ft | July-September | No |
| Lost Mine Trail | Big Bend NP, TX | 4.8 miles | 1 day | Moderate | 1,100 ft | October-April | No |
| Blue Mesa Trail | Petrified Forest NP, AZ | 3 miles | 1 day | Easy | 200 ft | March-May, September-November | No |
Key Points to Keep in Mind:
- Distance: Reflects the entire trail length, whether it’s a one-way route or a loop.
- Duration: Estimates are based on a moderate pace with standard backpacking gear.
- Elevation Gain: Represents the total ascent over the course of the trail, not just the difference between the starting and ending points.
- Difficulty Levels:
- Easy trails are ideal for beginners with basic fitness.
- Moderate trails require some experience and good physical conditioning.
- Strenuous trails demand excellent fitness, altitude acclimatization, and significant backpacking experience.
- Permit Requirements: Check with the National Park Service for the latest rules and quotas before setting out.
- Best Seasons: Recommendations consider factors like snow, water availability, and temperature extremes. High-altitude trails may have snow well into summer, while desert trails can be dangerous during peak heat. Always confirm current conditions before your trip.
Conclusion
America’s national parks offer something special for every backpacker. Whether you’re taking a short stroll along the Blue Mesa Trail or embarking on an epic trek like the John Muir Trail, these parks showcase an incredible variety of landscapes. Picture yourself wandering through alpine meadows, exploring desert canyons, navigating coastal wilderness, or traversing volcanic plateaus – there’s truly a trail for every skill level and interest.
To make your adventure safe and enjoyable, it’s important to plan ahead. For popular spots like Half Dome, secure your permits months in advance. Study elevation profiles to get a clear sense of the trail difficulty, and pack gear tailored to your destination. For example, bring bear canisters for Yosemite or tide charts for coastal trails. And don’t forget – weather in mountains and deserts can change in an instant. Check with park rangers for the latest conditions and stay flexible with your plans.
Protecting these natural spaces is just as important as enjoying them. Follow Leave No Trace principles: carry out everything you bring in, camp at least 200 feet away from water sources, and stick to established campsites. This is especially crucial in areas like fragile desert soils or alpine tundra, where even small disturbances can take decades to heal.
Ready to hit the trail? Start by reviewing the comparison table above to match your fitness level and schedule with the perfect route. Dive into the details of your chosen trail, secure any required permits, and gear up for the journey. With preparation and respect for the wilderness, you’re set to experience the unforgettable beauty of America’s great outdoors.
FAQs
What should I pack for a multi-day backpacking trip in a U.S. national park?
For a multi-day backpacking trip in a U.S. national park, packing light and choosing gear that’s both functional and efficient is key. Start with a comfortable hiking backpack that fits well and can carry all your essentials. A hydration system, like a reusable water bottle or hydration bladder, is a must, along with a portable water filter or purification tablets to ensure you have access to safe drinking water throughout your journey. Navigation tools, such as a trail map, compass, or GPS device, are non-negotiable to help you stay on course.
You’ll also need weather-appropriate clothing, sturdy hiking boots, and a lightweight tent or sleeping system to keep you protected at night. A compact first aid kit is essential for handling any minor injuries or emergencies. Other useful items include a multi-tool, bear spray if you’re in bear territory, and plenty of high-energy snacks or easy-to-prepare meals to keep you fueled. Before heading out, check the specific park’s regulations and make sure to bring any required permits for camping or trail use.
What can I do to improve my chances of getting a permit for popular trails like the John Muir Trail or Half Dome?
To boost your chances of securing a permit for high-demand trails, make sure to submit your application right when the reservation window opens – this is typically several months ahead of your planned trip. Visit the park’s official website to find the exact dates and specific guidelines.
It also helps to stay flexible with your travel dates and consider less crowded entry points or alternative routes. These options often have better availability. Lastly, carefully review your application to catch any mistakes that might lead to disqualification.
What are the best ways to handle elevation changes and prevent altitude sickness on challenging hikes?
Managing elevation changes and avoiding altitude sickness are crucial for a safe and enjoyable hiking experience. One of the best ways to prepare is by giving your body time to adjust. If possible, spend a few days gradually increasing your elevation before tackling higher altitudes. Staying hydrated and skipping alcohol can also make it easier for your body to adapt.
While on the trail, keep a steady pace and take regular breaks to prevent overexertion. Pay close attention to how you’re feeling – symptoms like headaches, nausea, or dizziness can be early signs of altitude sickness. If they appear, it’s important to descend to a lower elevation as soon as possible. For severe symptoms, don’t hesitate to seek medical help. Packing smart can make a big difference too. Bring along electrolyte drinks and energy-boosting snacks to stay fueled and hydrated throughout your hike.