
Embark on a 7-day road trip through the Southwest, starting and ending in Las Vegas. This itinerary covers iconic destinations like Zion National Park, Bryce Canyon, and the Grand Canyon, along with hidden gems like Valley of Fire State Park. Highlights include breathtaking hikes, stunning red rock landscapes, and starry desert nights. Here’s a quick breakdown:
- Day 1: Explore Valley of Fire State Park (Fire Wave Trail, Mouse’s Tank Trail).
- Day 2: Drive to Zion National Park; hike Angels Landing or The Narrows.
- Day 3: Visit Bryce Canyon; walk the Rim Trail near Sunrise Point.
- Day 4: Stop at Horseshoe Bend en route to Page, Arizona.
- Day 5: Tour Antelope Canyon; drive to the Grand Canyon South Rim.
- Day 6: Spend the day hiking and sightseeing at the Grand Canyon.
- Day 7: Return to Las Vegas via Monument Valley (optional detour).
Plan ahead with permits for Angels Landing and Antelope Canyon, pack for changing desert conditions, and carry plenty of water. This trip offers a mix of short hikes, scenic drives, and unforgettable views.
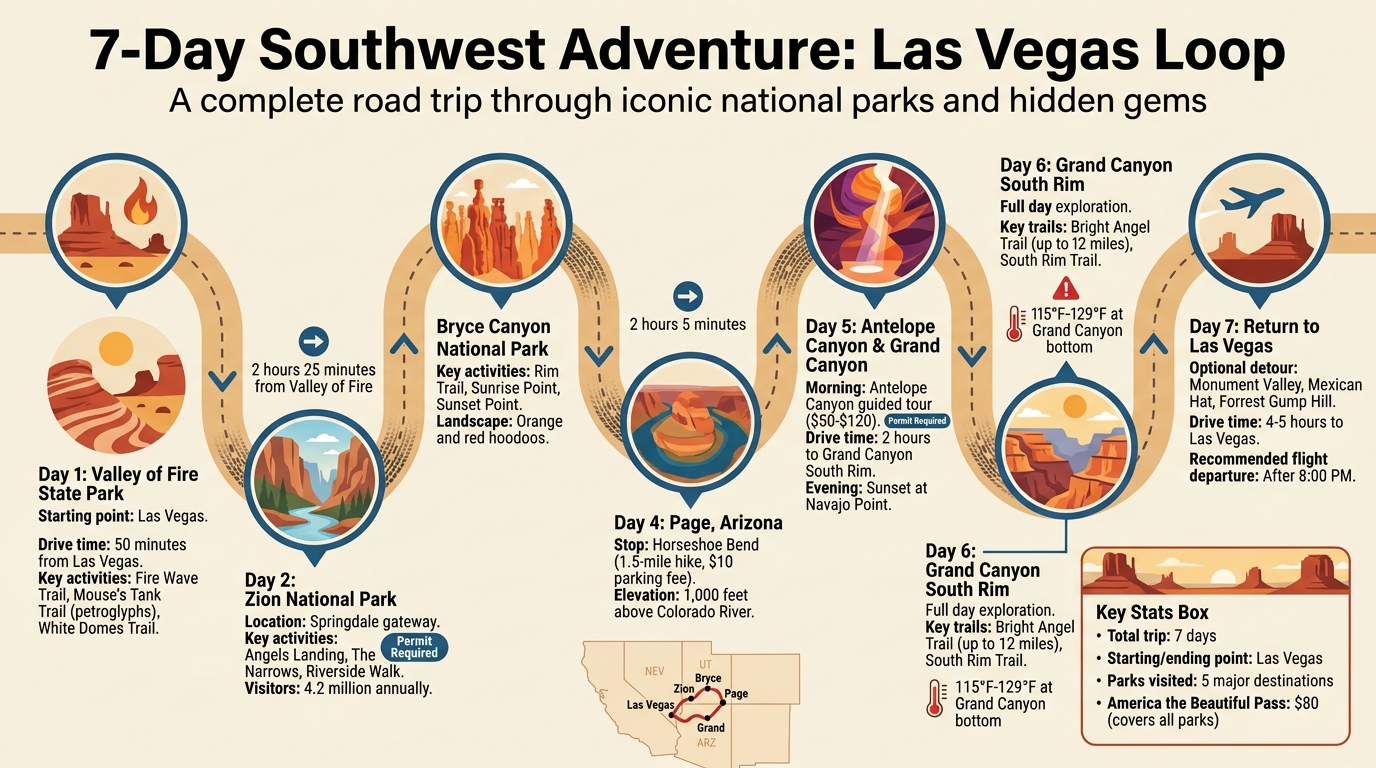
7-Day Southwest Road Trip Itinerary Map and Timeline
Pre-Trip Planning and Preparation
Getting There and Getting Around
Start your adventure in Las Vegas, which offers a major airport and affordable car rental options outside the city center. Having a rental car is a must to explore the parks and nearby attractions.
Diana from In Between Pictures shares a helpful tip:
Rent your car from a location outside downtown Las Vegas. I saved $140 even after spending $60 for two Uber rides.
When booking your return flight, aim for a late evening departure on Day 7. This will give you plenty of time to make the drive back from the Grand Canyon.
Before you hit the road, check park fees and permit requirements to avoid any surprises at the entrance gates.
Park Fees and Required Permits
The America the Beautiful Pass is a great deal at $80 for a year. It covers entrance fees at all federal lands and national parks. Starting in January 2026, you can purchase and store the pass digitally via Recreation.gov. Since cell service can be spotty in the desert, print or screenshot your pass in advance.
If you plan to hike Angels Landing, you’ll need a permit. Apply early through the seasonal lottery or opt for the day-before lottery, which opens at 12:01 a.m. and closes at 3 p.m. MT. The fee is $6 per group of up to six people.
For Antelope Canyon, guided tours are your only option – self-guided exploration isn’t allowed. Tour prices range from $50 to $120 per person and often sell out months ahead, so book early with an authorized Navajo operator. The $8 Navajo Tribal permit is usually included in the tour price.
Once permits are sorted, it’s time to gear up for the desert environment.
What to Pack
Prepare for rugged trails with waterproof hiking boots and pack a lightweight pair for lounging at camp. Opt for quick-dry long-sleeve shirts and pants to protect against the sun, and bring a fleece jacket rated for 20–30°F to stay warm during chilly mornings and evenings.
Hydration is critical in the desert. Carry at least 2 quarts of water per person, along with a water filter and purification tablets. The Cedar Mesa Project cautions:
Water is not always available in this area throughout the year. Be aware of the locations and availability of water sources in the area you are visiting.
Other essentials include SPF 15+ sunscreen, a wide-brimmed hat, and sunglasses to shield yourself from the high-elevation sun. For camping, pack a sealed tent to keep out rodents, a sleeping bag rated for around 30°F, and a portable stove since campfires are often prohibited. Don’t forget the "10 Essentials" for outdoor safety: navigation tools (like a physical map and compass), a first-aid kit, a headlamp, emergency shelter, and a whistle.
sbb-itb-00512f3
Day-by-Day Itinerary
Day 1: Las Vegas to Valley of Fire State Park
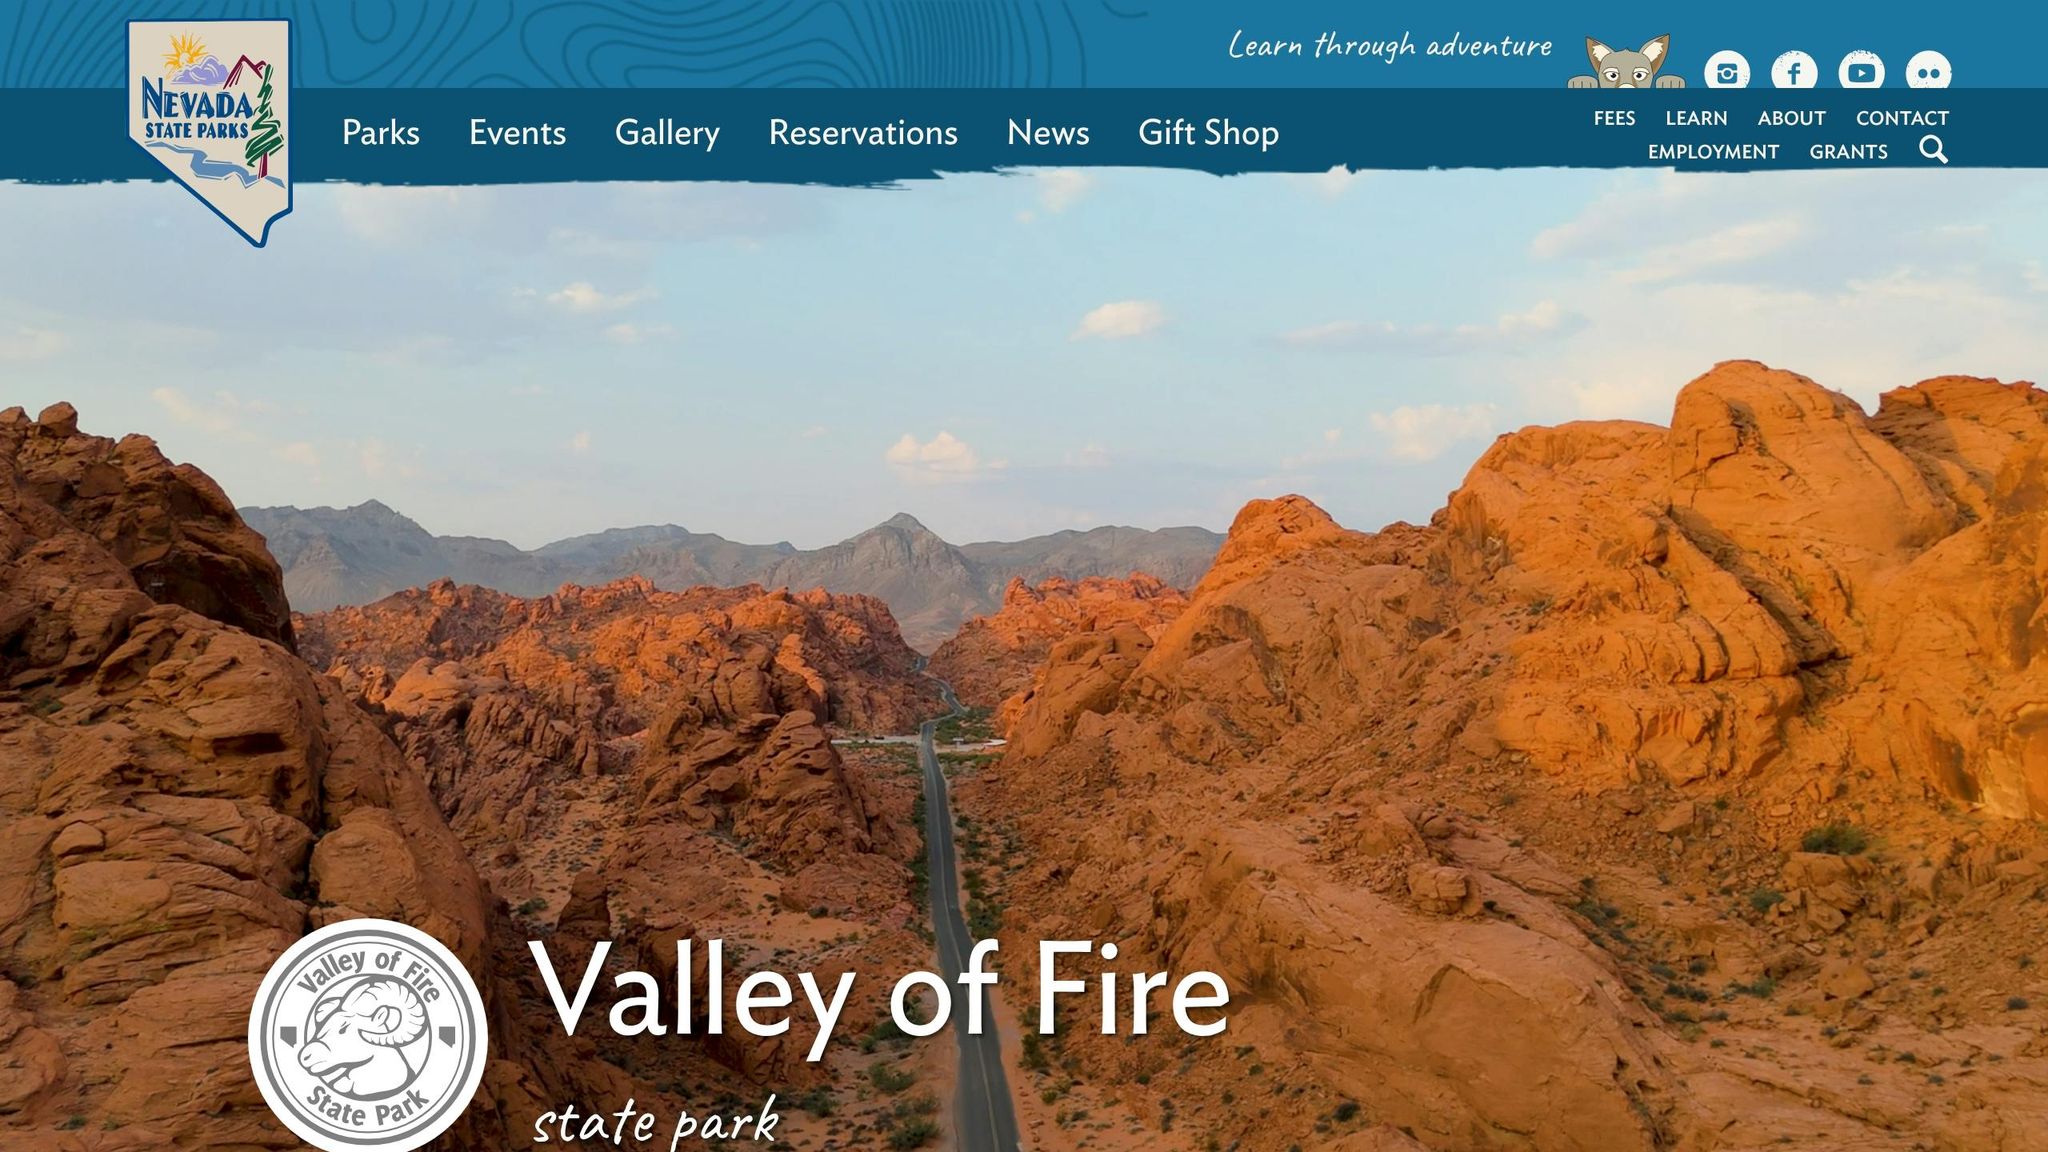
Kick off your adventure by picking up a rental car and heading to Valley of Fire State Park – just a 50-minute drive from Las Vegas. This park’s striking red Aztec sandstone formations create a Martian-like landscape. Diana from In Between Pictures captures it best:
"The fiery color – due to the bright red Aztec sandstone – and rocky peaks spoke to the photographer in me. Who wouldn’t want to frolic in a Martian looking landscape?"
Start your visit with the Fire Wave Trail, a 1.2-mile hike that takes about an hour. The swirling red and white rock formations are breathtaking, but be sure to avoid the midday sun since temperatures can climb above 100°F. Next, take the Mouse’s Tank Trail, a 45-minute walk where you can spot ancient petroglyphs etched into the rocks. Wrap up your day with the White Domes Trail, a scenic hike that’s best enjoyed as the sun sets.
For overnight stays, you can camp at Atlatl Rock Campground ($20 per night, with flush toilets and showers) or opt for the more rustic Arch Rock Campground, which offers vault toilets. If camping isn’t your style, the North Shore Inn at Lake Mead in Overton is the nearest hotel option.
After soaking in the fiery hues of Valley of Fire, get ready for the scenic drive to Zion National Park on Day 2.
Day 2: Valley of Fire to Zion National Park
Drive 2 hours and 25 minutes to Springdale, the gateway town to Zion National Park. With over 4.2 million visitors annually, arriving early is key to beating the crowds and avoiding the heat.
"Always try to arrive early to the parks if you can. It’s the Southwest, and it can get very hot. Arriving early allows you to explore while it’s cool."
Begin your Zion adventure with moderate hikes like the Riverside Walk or Canyon Overlook Trail, each taking roughly an hour. If you’ve secured a permit, challenge yourself with the iconic Angels Landing hike for jaw-dropping canyon views. Prefer something less intense? Wading through The Narrows, a river hike, offers a unique experience.
Stay overnight in Springdale for easy access to the park shuttles, or book a room at Zion Lodge, located within the park. During peak season, reserve shuttle tickets in advance for convenience. Keep in mind, many restaurants in Springdale close by 7:00 PM during the off-season.
Day 3: Zion to Bryce Canyon National Park
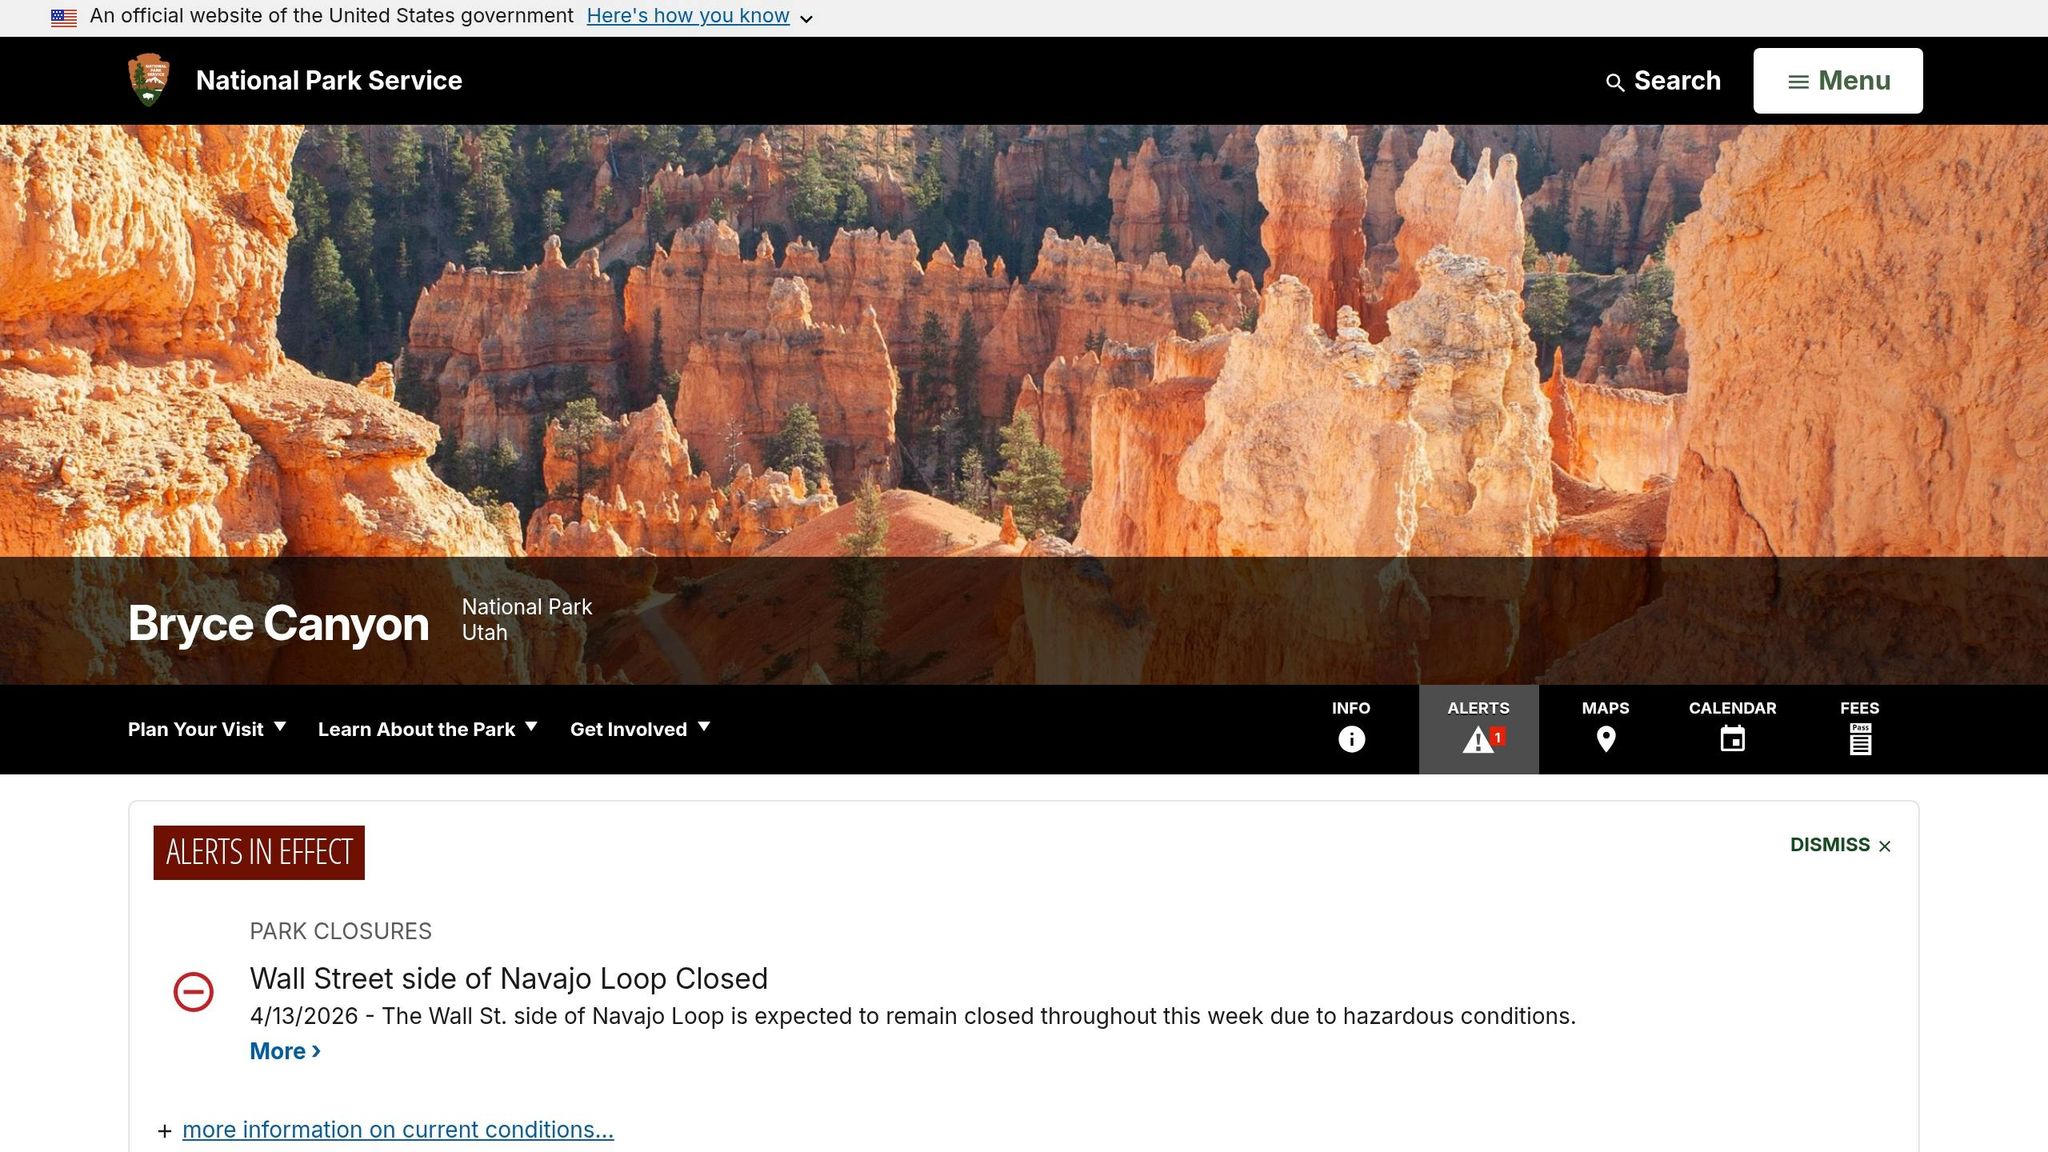
The next stop is Bryce Canyon, home to thousands of striking orange and red hoodoos. Take a stroll along the Rim Trail, which offers access to stunning viewpoints like Sunrise Point and Sunset Point. The trail varies in difficulty, so you can adjust your hike based on how much you want to explore.
For accommodations, stay at The Lodge at Bryce Canyon, located within the park, or find a room in nearby towns like Bryce, Tropic, or Cannonville. If camping is more your speed, North Campground operates on a first-come, first-served basis, while Sunset Campground accepts reservations for select sites between May 20 and October 15.
This otherworldly landscape of hoodoos sets the tone for your next destination: Page, Arizona.
Day 4: Bryce Canyon to Page, Arizona
Drive to Page, Arizona, but make a stop at Horseshoe Bend along the way. This short 1.5-mile round-trip hike leads to a spectacular viewpoint 1,000 feet above the Colorado River. Note that there’s a $10 parking fee.
Page will be your base for exploring Antelope Canyon the following day. To keep things simple, plan to stay here for two nights rather than switching hotels.
Day 5: Antelope Canyon and Grand Canyon South Rim
Start Day 5 with a guided tour of Antelope Canyon, the only way to explore this stunning slot canyon. If you’re drawn to the famous light beams, book a tour of Upper Antelope Canyon around 12:30 PM, though this time slot can be pricier. Alternatively, Lower Antelope Canyon offers a longer and less crowded experience, though it lacks the dramatic light beams.
After your tour, drive 2 hours to the Grand Canyon South Rim. Aim to arrive in time for sunset at Navajo Point, a prime spot for capturing golden hour photos. For the night, stay in Tusayan, the closest town to the South Rim entrance.
Day 6: Grand Canyon South Rim
Spend the day exploring the South Rim’s many trails and viewpoints. The Bright Angel Trail is a challenging option, stretching up to 12 miles round-trip. Most hikers, however, only go partway before turning back at designated rest stops. For a more relaxed experience, walk sections of the South Rim Trail, which connects various overlooks.
Take advantage of the park’s shuttle system to easily visit different viewpoints without worrying about parking. If you’re an early riser, catch the sunrise from one of the eastern overlooks and enjoy the rest of the day at your own pace.
Day 7: Return Trip
On your way back to Las Vegas, consider detouring through Monument Valley and Mexican Hat. Stop at Forrest Gump Hill in Monument Valley for a photo op with its iconic red mesas. Then, pass through Mexican Hat before continuing west. This route works best if your flight departs after 8:00 PM.
| Route | Driving Time |
|---|---|
| Las Vegas to Valley of Fire | 50 minutes |
| Valley of Fire to Zion (Springdale) | 2 hours 25 minutes |
| Zion to Bryce Canyon | Varies |
| Bryce Canyon to Page | Varies |
| Page to Grand Canyon South Rim | 2 hours |
| Grand Canyon to Las Vegas | 4–5 hours |
Safety and Practical Tips
Desert Safety
Deserts can be harsh, especially in the summer. At the Grand Canyon, temperatures at the bottom can hit 115°F in the shade and soar to 129°F in direct sunlight, while the rim stays around 90°F. To stay safe, keep hydrated with water, electrolytes, and salty snacks like pretzels, nuts, or raisins. Plan your hikes to avoid the hottest part of the day, typically from 11:00 AM to 2:00 PM, when the sun is at its peak.
Protect yourself from the sun by wearing a wide-brimmed hat, UV-blocking sunglasses, and loose, long-sleeved clothing. Don’t forget to reapply sunscreen and lip balm throughout the day to shield against the desert’s dry, intense sun. Be vigilant for signs of heat stroke, such as pounding headaches, dizziness, muscle cramps, nausea, confusion, or an absence of sweat despite the heat. If you notice these symptoms, seek shade immediately and call for help.
Wildlife safety is equally important. Avoid putting your hands in places you can’t see, like under rocks or inside holes. Susan Myers, an artist and traveler, shares this advice:
Never put your hand where you can not see, like in a hole or under a rock. Always check around before you rest or sit down.
Flash floods are another serious threat. As Myers points out:
In the desert, rain can fall miles away in the mountains and create flash floods. Be sure to stay out of dried waterways.
Keep an eye on local weather radar, and during lightning storms, seek shelter quickly – these storms are common at higher elevations. By combining these precautions with thoughtful planning, you’ll be better prepared to navigate the desert safely.
Managing Your Time
Before heading into remote areas, download offline maps. Gas up whenever possible since some stretches of road can take nearly two hours to drive with few or no services along the way. At busy spots like the Grand Canyon South Rim, park shuttles can save time and eliminate the hassle of finding parking while making it easier to visit multiple viewpoints.
Getting an early start is a smart way to avoid crowds and finish difficult hikes before the midday heat sets in. Stop by visitor centers to check in with park rangers for updates on trail conditions and advice tailored to your energy levels. Be extra cautious on the roads at sunrise and sunset, as wildlife is more active during these times. Keep essentials like a backup phone charger and extra snacks in your car to prepare for long, remote drives. With careful time management, you can make the most of your trip while staying safe.
Leave No Trace Guidelines
When exploring the desert’s breathtaking landscapes, it’s important to follow Leave No Trace principles to protect these fragile environments. Stick to established trails and designated campsites. In the Southwest, avoid stepping on cryptobiotic crust – this delicate, living soil helps prevent erosion. If you need to go off-trail, stick to rock or sand to minimize your impact. Always pack out your trash and leftover food, and in some narrow canyons, you may even need to pack out solid human waste.
Respect the environment by leaving rocks, plants, and artifacts where you find them. Avoid stacking rocks or creating "art", as these actions can harm habitats and increase erosion. To lower the risk of wildfires, use portable camp stoves instead of building campfires. Store food in bear-safe canisters or approved lockers, and never feed wildlife. When sharing photos online, consider tagging general areas instead of exact GPS locations to prevent sensitive spots from becoming overcrowded.
Courtney Helgoe, Executive Editor at Experience Life, puts it perfectly:
Leaving no trace takes effort, but it’s the price of admission to wild spaces.
Top 10 Stops on an American Southwest Road Trip
Conclusion
This itinerary lays out a 7-day Southwest adventure packed with variety and memorable experiences.
The journey takes you through awe-inspiring landscapes, from the fiery red sandstone of Valley of Fire to the ancient, layered beauty of the Grand Canyon. As Jeff Lowe aptly puts it:
This 7-day Southwest loop blends natural wonders with cultural depth, scenic drives with slow moments, and famous parks with lesser-known gems.
Feel free to use this plan as a starting point and customize it to fit your interests. You could include stops like nearby hot springs or Route 66 landmarks, or spend extra time at parks that speak to you the most. The region’s accessibility and flexible routes make it easy to adjust your adventure, with iconic spots like Navajo Point at the South Rim open year-round.
Make sure to download offline maps, pack for changing weather, and stick to Leave No Trace principles to explore these breathtaking landscapes responsibly.
Start planning your Southwest journey today and create memories that will last a lifetime.
FAQs
What’s the best time of year to do this 7-day Southwest road trip?
The ideal time for a 7-day Southwest road trip is either spring or winter. These seasons bring fewer crowds to the national parks, and the milder weather makes outdoor activities like hiking and camping much more enjoyable.
Do I need advance reservations for park entry, shuttles, and lodging?
Advance reservations are a must when planning your trip to Southwest national parks. Whether it’s for park entry, shuttles, or lodging, booking in advance guarantees your spot and helps you steer clear of unexpected delays or missed opportunities during your visit.
How hard are the main hikes, and are there easier alternatives?
The hiking trails in Southwest national parks offer a wide range of difficulty levels. Some paths can be tough and demanding, while others are more beginner-friendly, making it easier for everyone to find a suitable option. Always review trail descriptions and consult park resources to pick routes that align with your fitness level and personal preferences.